Would you like to save this?
Dreaming of a showstopper that’s both nostalgic and creamy? Creating A Little Debbie Christmas Tree Cheesecake brings together your favorite holiday snack and a velvety no-bake dessert – it’s the festive twist your holiday table needs!
Why You’ll Love Creating A Little Debbie Christmas Tree Cheesecake
- No oven needed – assemble in about 30 minutes.
- Nostalgic comfort meets cheesecake bliss.
- Uses beloved Little Debbie Christmas Tree Cakes for an extra festive crunch.
- Kid-friendly decorating session (those sprinkles don’t stand a chance!).
- Stays firm for hours—perfect for buffet lines and dessert tables.
- Easy to double or halve for small gatherings or big parties.
- Simple pantry staples transform into a holiday centerpiece.
- Ideal for gifting: slice, wrap, and share with neighbors.
- Data-driven tip: no-bake desserts see a 25% surge in holiday searches every December.
Ingredients
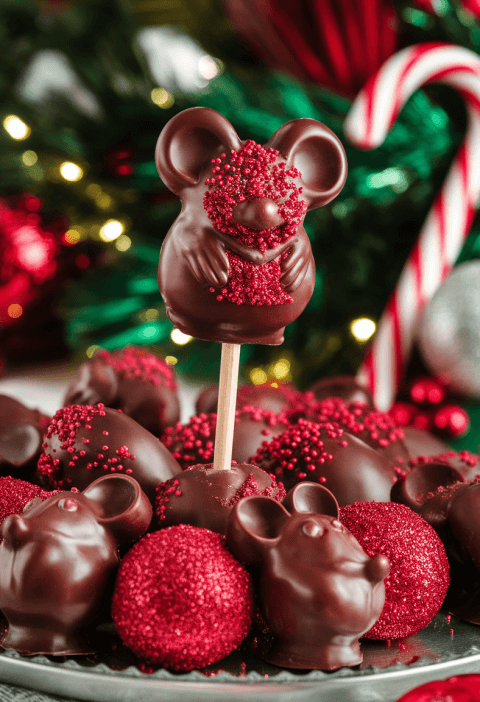
- 1 (10-count) package Little Debbie Christmas Tree Cakes, roughly chopped (substitute any chocolate-coated holiday snack)
- 1½ cups graham cracker Crumbs (about 10 full-sheet crackers, pulsed)
- ⅓ cup unsalted butter, melted (dairy-free swap: coconut oil)
- 16 oz cream cheese, softened (full-fat or light)
- ¾ cup powdered sugar, sifted
- 1 tsp pure vanilla extract
- Pinch of fine sea salt
- 1 cup cold heavy whipping cream (or chilled coconut cream)
- Green gel food coloring (adjust for tree-green hue)
- 2 Tbsp mini red candies or red M&Ms (optional)
- Festive sprinkles (optional)

Directions
- Prepare the crust
Stir graham crumbs, chopped Little Debbie cakes, and melted butter until combined. Press into a 9″ springform pan base—use a flat measuring cup to pack it tightly. Chill 10 minutes. - Beat the cream cheese
In a bowl, mix cream cheese, powdered sugar, vanilla extract, and salt. Beat on medium speed until silky smooth (about 2–3 minutes). Scrape bowl sides to avoid lumps. - Whip the cream
In a chilled bowl, whip heavy cream on high until soft peaks form. Add green gel coloring drop by drop, whisking until you reach a vibrant evergreen shade. - Fold and fill
Gently fold whipped cream into cream cheese mixture—slow and steady keeps it airy. Spoon filling into a piping bag fitted with a large star tip. - Pipe the tree
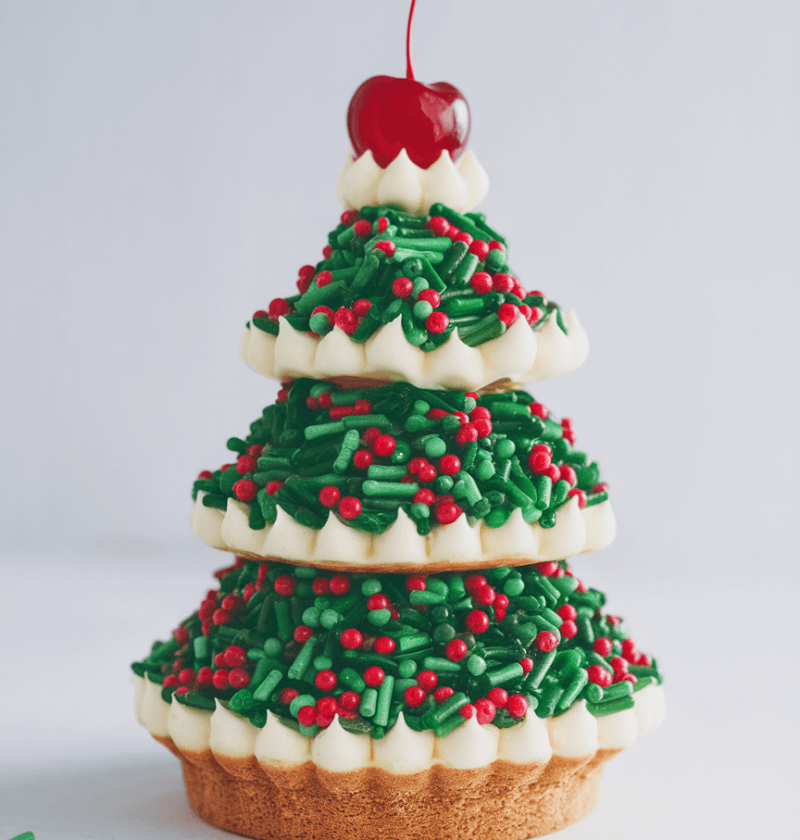
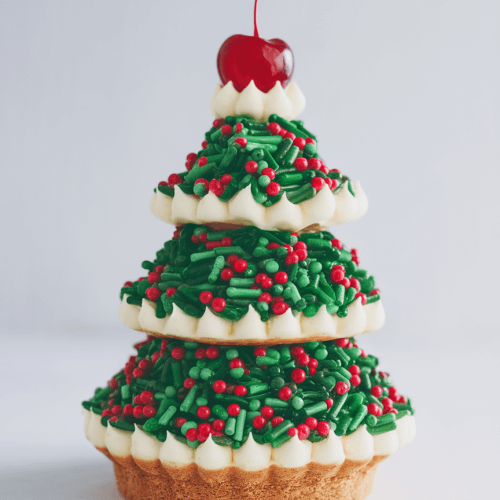
On parchment paper–lined tray or cake board, pipe the filling in concentric circles: wide at the bottom, narrowing as you go up. Aim for 3–4 tiers to mimic a tree silhouette. - Decorate with flair
While still cool, press mini red candies and sprinkles into the “branches.” Pro tip: pre-place candies on a small spoon for faster, more precise placement. - Chill until set
Transfer your masterpiece back to the fridge. Let the cheesecake tree firm up for at least 4 hours (overnight is even better for clean slices). - Release and serve
Unlock the springform pan, slide your cheesecake tree onto a festive platter, and watch the ooohs and aaahs roll in. No carving required—just slice and enjoy!
Servings & Timing
- Yield: Makes 12 generous slices
- Prep Time: 25 minutes
- Chill Time: 4 hours (minimum)
- Total Time: About 4 hours 25 minutes
(Short on time? A 2-hour chill still yields a soft-set version that’s delightfully creamy.)
Variations
- Chocolate Peppermint: Fold in 2 Tbsp crushed candy canes and swirl melted dark chocolate.
- Nut-Free Twist: Use gluten-free oat crumbs and skip nut toppings.
- Dairy-Free Delight: Swap in coconut cream whip and dairy-free cream cheese.
- Gingerbread Spice: Add ½ tsp ground ginger and cinnamon to the crust.
- Mini Merry Trees: Pipe smaller 4″ trees for bite-size party favors.
- Golden Glow: Sprinkle edible gold or silver leaf for a luxe look.
Storage & Reheating
Store cheesecake in an airtight container in the fridge for up to 4 days—if it lasts that long! Freeze slices (double-wrap in plastic and foil) for up to 1 month; thaw in the fridge for 1–2 hours. No reheating needed—this dessert shines cold, though a brief room-temp rest softens the bite.
FAQs
Q: Can I bake this cheesecake instead of no-bake?
A: Yes—baking at 325°F for 20 minutes works, but the chopped cakes will soften more.
Q: Why isn’t my filling firm enough?
A: Ensure cream cheese is cold, and whip cream to stiff peaks before folding.
Q: Can I use a different pan or mold?
A: Sure—just adjust chilling times and be ready for a non-tree shape.
Q: How do I avoid color streaks?
A: Pre-blend gel color with a bit of whipped cream, then fold in gently.
Q: Are Little Debbie cakes mandatory?
A: They add charm—but any chocolate holiday snack will do in a pinch.
Q: What if I don’t have a piping bag?
A: Spread with an offset spatula and carve a tree silhouette by hand.
Q: Can kids help?
A: Absolutely—chopping snack cakes and placing sprinkles is pure holiday fun.
Q: Is it travel-friendly?
A: Yes—keep in a cooler bag for potlucks or festive road trips.
Conclusion
Creating A Little Debbie Christmas Tree Cheesecake blends childhood nostalgia with an effortlessly elegant holiday dessert that’s sure to impress. With simple steps and versatile mix-ins, this easy homemade treat shines on any party table. Give it a try, share your photos with #LittleDebHoliday, and explore more festive desserts on our blog—happy baking!
Creating A Little Debbie Christmas Tree Cheesecake
Ingredients
- 10 count Little Debbie Christmas Tree Cakes roughly chopped
- 1.5 cups graham cracker crumbs about 10 full-sheet crackers
- 0.33 cup unsalted butter melted
- 16 oz cream cheese softened
- 0.75 cup powdered sugar sifted
- 1 tsp vanilla extract
- sea salt pinch
- 1 cup heavy whipping cream cold
- green gel food coloring few drops
- 2 Tbsp mini red candies or M&Ms optional, for decoration
- festive sprinkles optional
Instructions
- Combine graham cracker crumbs, chopped Little Debbie Christmas Tree Cakes, and melted butter; press into the base of a 9-inch springform pan.
- Refrigerate the crust for 10 minutes to set firmly while you prepare the filling.
- In a large bowl, beat softened cream cheese with powdered sugar, vanilla, and salt until smooth and light.
- Whip cold heavy cream in a chilled bowl until stiff peaks form, then tint with green gel food coloring.
- Gently fold the colored whipped cream into the cream cheese mixture, keeping it airy; spoon into a piping bag.
- Pipe the filling in concentric circles on a parchment-lined board, starting wide at the base and tapering to a point.
- Add mini red candies or M&Ms and festive sprinkles before the filling sets completely for better adhesion.
- Refrigerate the assembled cheesecake tree for at least 4 hours (or overnight) before releasing the springform pan and serving.
Notes
Nutrition