Would you like to save this?
A Heartwarming Introduction to Butter Buttermilk Biscuits
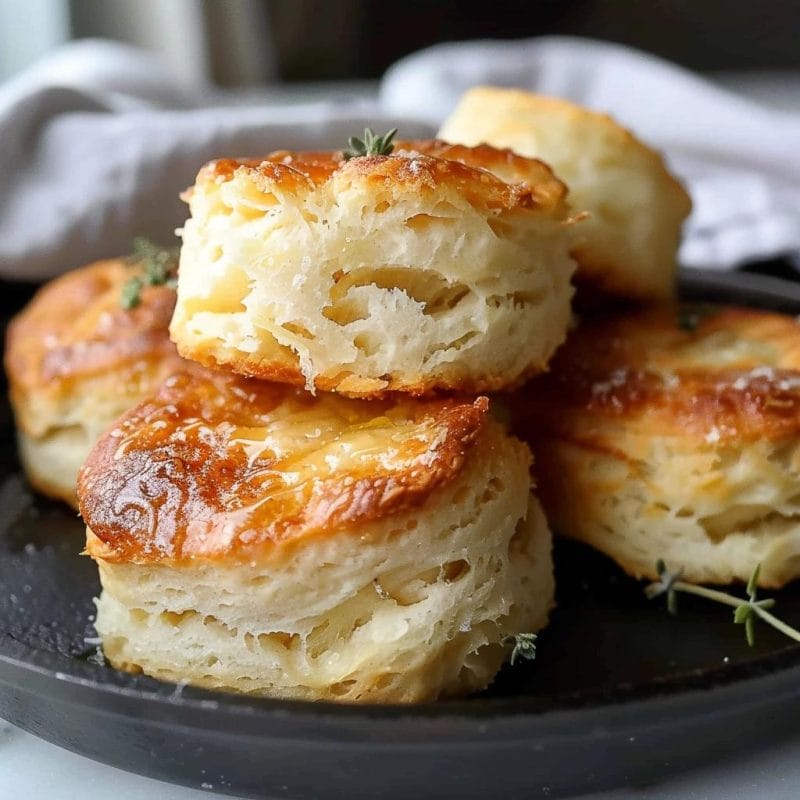
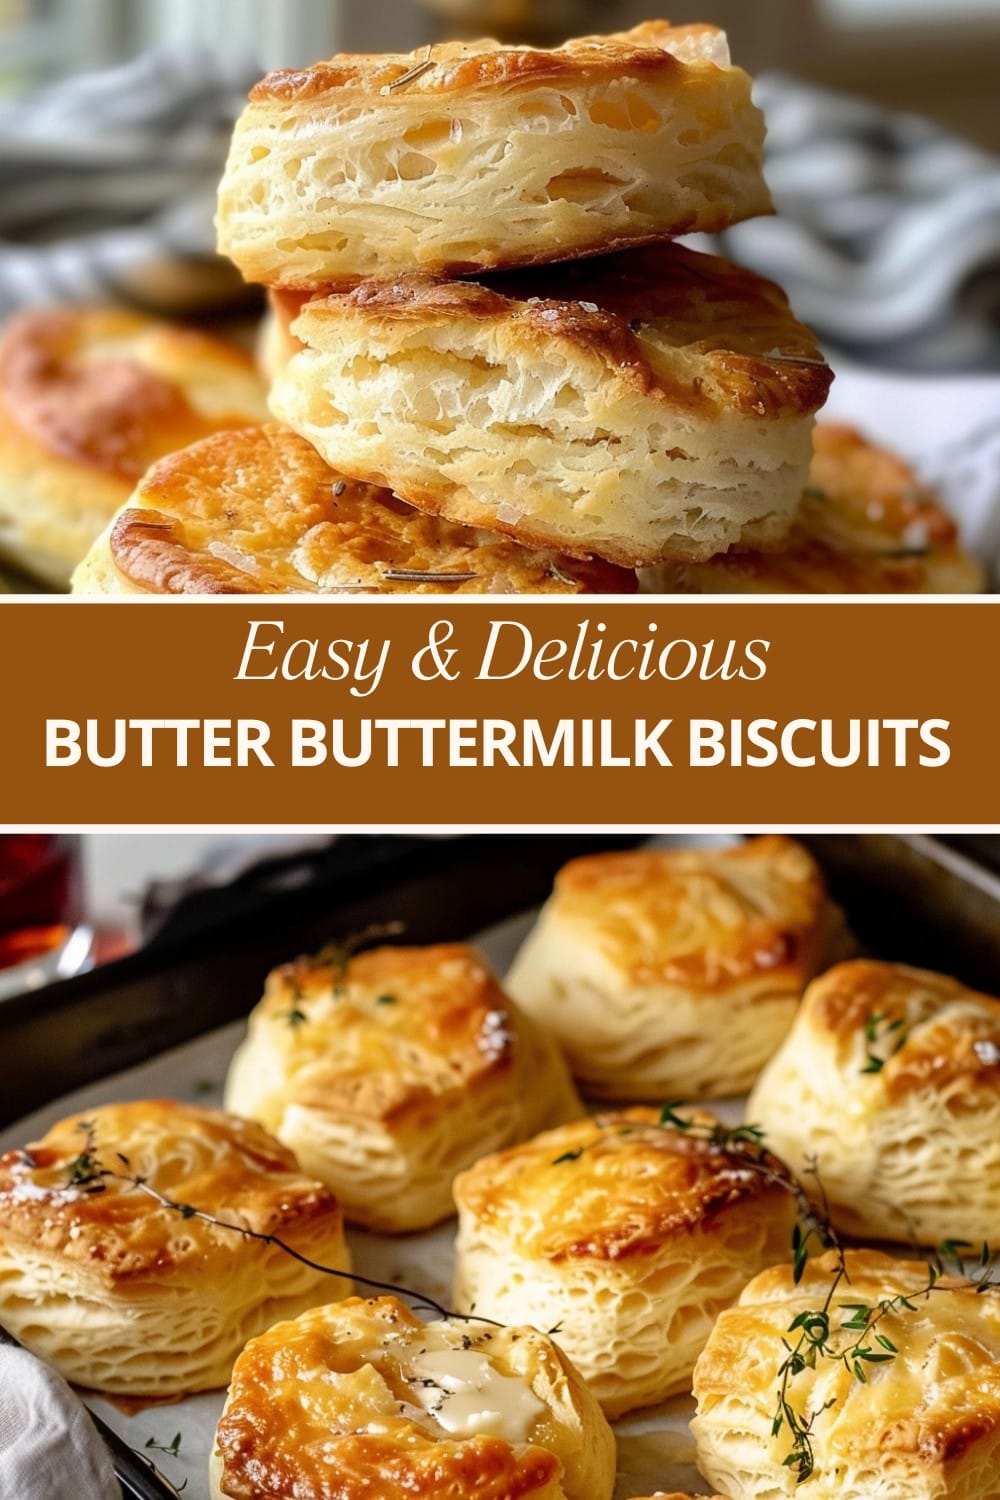
There’s something inherently comforting about the smell of freshly baked biscuits wafting through the kitchen. For me, it evokes memories of lazy Sunday mornings at my grandmother’s house, where the warmth of the oven and the laughter of family made every meal special. These Butter Buttermilk Biscuits hold a special place in my heart, reminiscent of those delightful moments. Soft, tall, flaky, and buttery, they are the epitome of homemade goodness. Whether slathered with jam, honey, or drenched in gravy, these biscuits are a perfect addition to any breakfast spread, or even as a side for lunch or dinner.
The magic of these biscuits lies in their simplicity. Made with just a handful of ingredients, they are a testament to how basic pantry staples can create something truly extraordinary. The combination of buttermilk and butter is the secret to their irresistible texture and flavor. If you’ve never made biscuits from scratch before, this recipe is the perfect place to start. It’s straightforward and forgiving, ensuring that even novice bakers can achieve bakery-quality results.
The Role of Ingredients
1. All-Purpose Flour (2 cups)
Flour is the backbone of any biscuit recipe. It provides the structure needed to hold everything together. All-purpose flour is perfect for these biscuits because it balances tenderness and strength, giving you that ideal flaky texture.
2. Baking Powder (1 tablespoon)
Baking powder is the leavening agent that helps the biscuits rise. It’s responsible for their height and fluffiness. Using a full tablespoon ensures that the biscuits are tall and airy.
3. Salt (1 teaspoon)
Salt enhances the flavor of the biscuits, bringing out the buttery goodness and balancing the richness of the buttermilk and butter.
4. Unsalted Butter (1/2 cup, cold and cut into small pieces)
Butter is crucial for creating the flaky layers in the biscuits. Using cold butter ensures that it melts slowly in the oven, creating steam pockets that make the biscuits light and airy. Cutting the butter into small pieces helps distribute it evenly throughout the dough.
5. Buttermilk (3/4 cup)
Buttermilk adds a tangy flavor and contributes to the tenderness of the biscuits. Its acidity reacts with the baking powder to help the biscuits rise even more.
Step-by-Step Instructions
1. Preheat the Oven
Preheat your oven to 450°F (230°C). A hot oven is essential for baking biscuits as it helps them rise quickly and develop a golden, crispy exterior while keeping the inside tender and moist.
2. Prepare the Dry Ingredients
In a large mixing bowl, whisk together the 2 cups of all-purpose flour, 1 tablespoon of baking powder, and 1 teaspoon of salt. This step ensures that the baking powder and salt are evenly distributed throughout the flour, which is crucial for uniform rising and flavor.
3. Cut in the Butter
Add the cold, cubed butter to the flour mixture. Using a pastry cutter, fork, or your fingers, cut the butter into the flour until the mixture resembles coarse sand with pea-sized bits of butter. This process creates small pockets of butter within the dough that will melt during baking, forming the layers that make the biscuits flaky.
4. Add the Buttermilk
Make a well in the center of the butter-flour mixture and pour in the 3/4 cup of buttermilk. Stir gently with a wooden spoon or spatula just until the dough starts to come together. Be careful not to overmix, as this can make the biscuits tough.
5. Knead the Dough
Turn the dough out onto a lightly floured surface and knead it gently a few times to bring it together. Pat the dough out into a rectangle about 1 inch thick. The gentle kneading helps to ensure a tender texture, while patting it out to the right thickness ensures the biscuits rise properly.
6. Cut the Biscuits
Using a 2-inch biscuit cutter, cut out as many biscuits as you can from the dough. Press straight down without twisting to ensure the biscuits rise evenly. Place the cut biscuits on a baking sheet, close together if you prefer softer sides or spaced apart for crispier edges. Gather the scraps, pat them out again, and cut additional biscuits until all the dough is used.
7. Bake
Bake the biscuits in the preheated oven for 12-15 minutes, or until they are golden brown on top. The high heat will help the biscuits rise quickly and develop a beautifully browned crust.
8. Serve
Serve the biscuits warm, straight from the oven. They are perfect on their own or with a dollop of butter, jam, or gravy.
Variations and Substitutions
One of the joys of baking is the ability to customize recipes to suit your tastes or dietary needs. Here are a few variations you can try with these Butter Buttermilk Biscuits:
Cheesy Biscuits
Add 1 cup of shredded cheddar cheese to the dry ingredients before adding the buttermilk. The cheese will melt into the biscuits as they bake, adding a rich, savory flavor.
Herbed Biscuits
Incorporate 1-2 teaspoons of dried herbs like rosemary, thyme, or chives into the dry ingredients. Fresh herbs can also be used; just double the quantity.
Sweet Biscuits
For a sweet version, add 2 tablespoons of sugar and 1 teaspoon of vanilla extract to the dry ingredients. These sweet biscuits are perfect for breakfast or dessert, especially when topped with fresh fruit and whipped cream.
Whole Wheat Biscuits
Replace half of the all-purpose flour with whole wheat flour for a nuttier flavor and a bit more fiber. You may need to add a little extra buttermilk to achieve the right dough consistency.
Gluten-Free Biscuits
Use a gluten-free all-purpose flour blend in place of the regular flour. Make sure it contains xanthan gum or add 1/2 teaspoon if your blend does not. The texture may be slightly different, but they should still be deliciously flaky.
Conclusion
Butter Buttermilk Biscuits are more than just a side dish; they are a symbol of comfort and home. Their flaky, buttery layers and tender crumb make them an instant favorite at any meal. The process of making these biscuits from scratch is simple and rewarding, filling your kitchen with the irresistible aroma of fresh baking.
Whether you’re enjoying them with a hearty breakfast, as a snack with afternoon tea, or as a side to a cozy dinner, these biscuits are sure to become a beloved staple in your recipe collection. The flexibility of this recipe allows you to experiment with flavors and ingredients, making it easy to tailor to your personal preferences. So, roll up your sleeves, preheat your oven, and get ready to experience the joy of homemade biscuits. They are not just a treat; they are a tradition in the making.

