Would you like to save this?
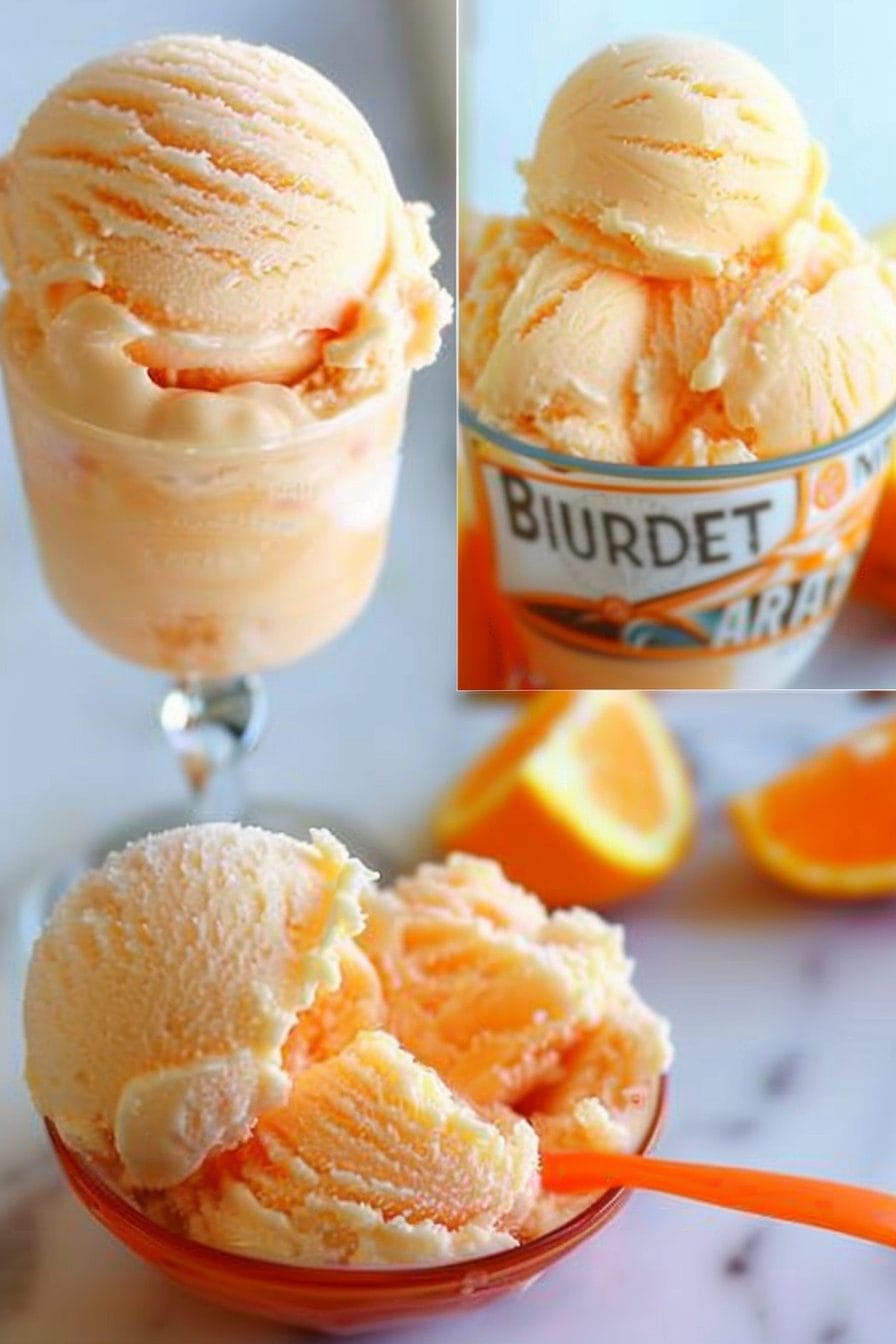
Imagine a hot summer day, the kind where the sun seems to have its own agenda of turning everything into a furnace. Now, picture yourself relaxing on the porch, seeking relief from the sweltering heat. Your wish for a refreshing treat is answered with a chilled, creamy, and slightly tangy delight that dances on your taste buds and cools you down in the most satisfying way. This treat is none other than a delectable homemade orange soda ice cream, a recipe that effortlessly marries the zesty sparkle of orange soda with the smooth, velvety texture of sweetened condensed milk. This combination is not just a dessert; it’s a nostalgic experience that harks back to simpler times, bringing the joy of childhood summers right to your bowl.
Growing up, I remember spending countless afternoons with my family at the local park, where my mom would often surprise us with homemade ice cream made from various fruit sodas. Each flavor seemed to have its own story, but the orange soda version held a special place in my heart. The tangy citrus of the orange soda perfectly complemented the rich sweetness of condensed milk, creating an ice cream that was both refreshing and indulgent. The process of making it together, watching the mixture churn into a creamy consistency, and finally digging in with eager spoons, remains one of my fondest memories.
Today, I’m excited to share this simple yet extraordinary recipe with you. It’s perfect for cooling off on a hot day or for impressing guests with a unique homemade treat. Whether you’re using an ice cream maker or opting for a manual method, the result is a creamy, dreamy ice cream that encapsulates the essence of summer in every bite. Here’s a detailed guide on how to make this delightful orange soda ice cream, ensuring that you can recreate those cherished moments in your own kitchen.
Ingredients
1 liter of orange soda
6 ounces of sweetened condensed milk
Instructions
Preparation: Start by gathering all your ingredients and kitchen tools. You’ll need a large mixing bowl, a spoon or whisk, and if you have one, an ice cream maker. If you’re going the manual route, have a baking pan ready. Ensure that the baking pan is suitable for freezing and is large enough to accommodate the mixture with some space left for expansion.
Mix the Ingredients: Pour the 1 liter of orange soda into the large mixing bowl. Gently add the 6 ounces of sweetened condensed milk to the soda. Using a spoon or whisk, stir the mixture slowly and thoroughly until the condensed milk is fully combined with the soda. Be careful not to stir too vigorously to avoid excessive foam or bubbles. The goal is to create a smooth, homogenous mixture where the sweetness of the condensed milk and the tanginess of the orange soda are perfectly integrated.
Using an Ice Cream Maker: If you have an ice cream maker, pour the combined mixture into the machine. Start the machine according to the manufacturer’s instructions. The ice cream maker will churn the mixture, incorporating air and freezing it to achieve a creamy texture. This process usually takes about 20-30 minutes, depending on your machine.
Once the churning is complete and the ice cream has reached a soft-serve consistency, you can either serve it immediately or transfer it to a container for further freezing to firm it up. If you’re planning to store it for later, transfer it to a freezer-safe container and let it freeze for an additional 2-4 hours to harden.
Manual Freezing Method: If you don’t have an ice cream maker, pour the mixture into your prepared baking pan. Place the pan in the freezer. After an hour, take it out and stir the mixture thoroughly using a fork or spoon. This will help break up any ice crystals that have started to form and ensure a smoother texture. Return the pan to the freezer.
Repeat the stirring process every hour for a total of 2-3 times. This manual method requires a bit of patience, but it’s worth it for the end result. The ice cream will need to freeze for 6-8 hours to become firm and ready to scoop.
Serving: Once the ice cream has fully frozen and hardened, it’s ready to be served. If it’s been in the freezer for a while and seems too hard to scoop, let it sit at room temperature for a few minutes to soften slightly before serving.
Variations and Substitutions
Flavor Variations: While orange soda is the star of this recipe, you can experiment with other flavored sodas. Try lemon-lime soda for a tangy twist or root beer for a nostalgic float-inspired treat. Just ensure that the soda you choose is sweetened and carbonated.
Dietary Adjustments: For a lower-calorie version, you can use a diet or sugar-free orange soda. Keep in mind that using sugar-free soda may alter the flavor slightly, but it’s a great option if you’re watching your sugar intake.
Vegan Alternative: If you’re vegan or lactose intolerant, substitute the sweetened condensed milk with a plant-based version. There are several vegan sweetened condensed milk options available that will work well in this recipe.
Add-Ins: Feel free to enhance your ice cream with add-ins such as chocolate chips, crushed nuts, or even a swirl of fruit puree. Add these after the mixture has been partially frozen and stirred, or during the last few minutes of churning if using an ice cream maker.
Conclusion
This homemade orange soda ice cream is not just a treat; it’s a celebration of summer in a bowl. The process of making it is simple and rewarding, offering a perfect blend of tangy citrus and creamy sweetness that’s sure to delight. Whether you’re using an ice cream maker or relying on manual methods, the end result is a delightful frozen dessert that brings back the joy of childhood summers and makes every moment a bit more special.
The beauty of this recipe lies in its simplicity and the ease with which it can be adapted to suit various tastes and dietary needs. It’s a versatile and fun dessert that can be enjoyed by the whole family. Plus, making it at home allows you to control the ingredients and tailor it to your preferences, ensuring a fresh and flavorful treat every time.
So, gather your ingredients, channel your inner ice cream maker, and enjoy the process of creating this nostalgic and refreshing dessert. It’s a perfect way to beat the heat and make summer days even sweeter. Enjoy every spoonful of this delightful orange soda ice cream and savor the memories it brings with each bite!
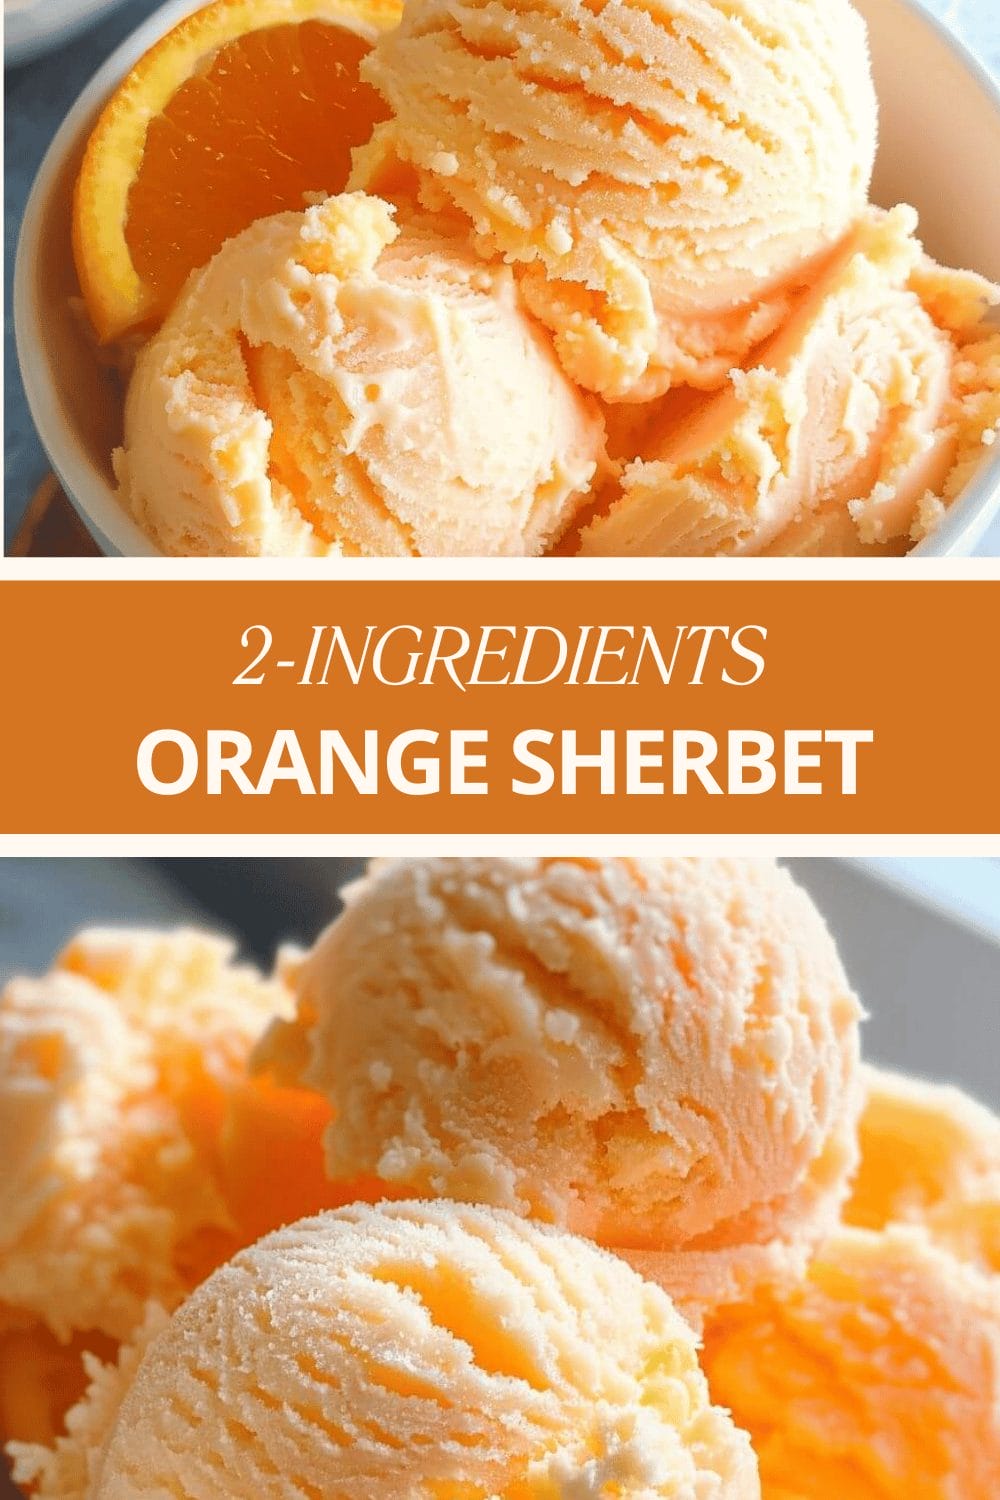
2-INGREDIENT ORANGE SHERBET
This easy 2-Ingredient Orange Sherbet is a refreshing and creamy dessert made with just orange soda and sweetened condensed milk. Perfect for a quick treat, this recipe requires minimal effort and delivers maximum flavor with a delightful citrus tang.
- 1 liter of orange soda (Provides the base flavor and carbonation for the sherbet)
- 6 ounces of sweetened condensed milk (Adds creaminess and sweetness)
- Pour 1 liter of orange soda into a large mixing bowl.
- Gently add 6 ounces of sweetened condensed milk and stir until fully combined.
- Using an Ice Cream Maker: Pour the mixture into the machine and churn for 20-30 minutes until soft-serve consistency; freeze for 2-4 hours for a firmer texture.
- Manual Freezing Method: Pour mixture into a baking pan and freeze; stir every hour for 2-3 times, then freeze for 6-8 hours until firm.
- Serve once fully frozen, or let soften at room temperature if too hard to scoop.
- Flavor Variations: Try other flavored sodas like lemon-lime or root beer.
- Dietary Adjustments: Use diet or sugar-free soda for a lower-calorie version.
- Vegan Alternative: Substitute with vegan sweetened condensed milk.
- Add-Ins: Enhance with chocolate chips, crushed nuts, or fruit puree for extra flavor.

2-INGREDIENT ORANGE SHERBET
Ingredients
- 1 liter of orange soda Provides the base flavor and carbonation for the sherbet
- 6 ounces of sweetened condensed milk Adds creaminess and sweetness
Instructions
- Pour 1 liter of orange soda into a large mixing bowl.
- Gently add 6 ounces of sweetened condensed milk and stir until fully combined.
- Using an Ice Cream Maker: Pour the mixture into the machine and churn for 20-30 minutes until soft-serve consistency; freeze for 2-4 hours for a firmer texture.
- Manual Freezing Method: Pour mixture into a baking pan and freeze; stir every hour for 2-3 times, then freeze for 6-8 hours until firm.
- Serve once fully frozen, or let soften at room temperature if too hard to scoop.
Notes
- Flavor Variations: Try other flavored sodas like lemon-lime or root beer.
- Dietary Adjustments: Use diet or sugar-free soda for a lower-calorie version.
- Vegan Alternative: Substitute with vegan sweetened condensed milk.
- Add-Ins: Enhance with chocolate chips, crushed nuts, or fruit puree for extra flavor.

