Would you like to save this?
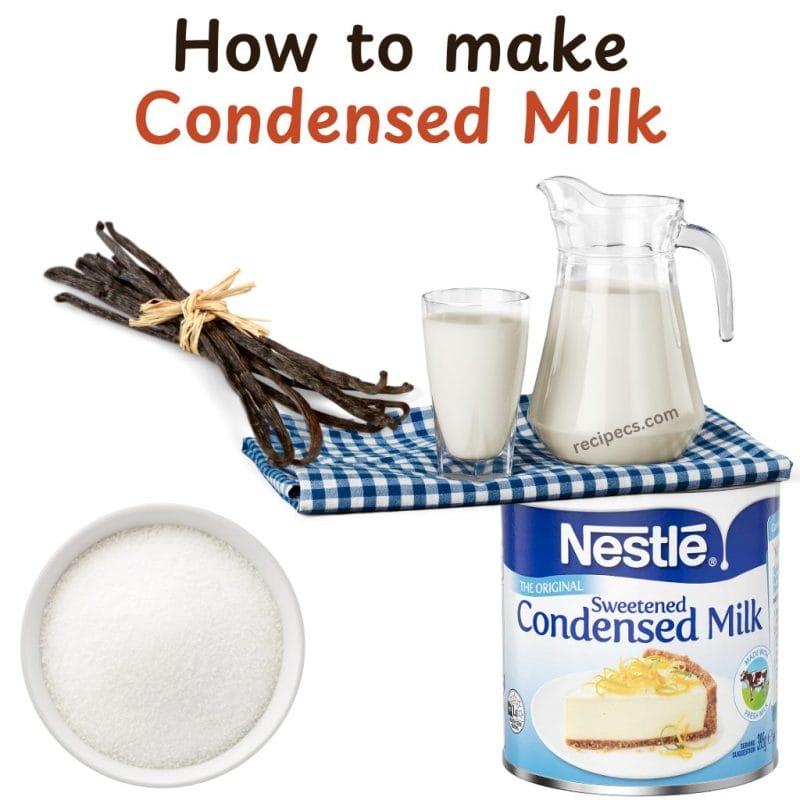
Sweetened condensed milk is a versatile ingredient that adds richness, sweetness, and a smooth texture to a variety of recipes. From classic desserts like pies and cakes to refreshing drinks and creamy sauces, this pantry staple is indispensable. Making your own sweetened condensed milk at home is surprisingly simple and allows you to control the quality of ingredients, ensuring a purer, fresher taste.
I first learned to make homemade sweetened condensed milk during a holiday baking marathon with my grandmother. Her recipes always called for this creamy, sweet ingredient, and she preferred making it from scratch to avoid preservatives and additives. The process was fascinating and straightforward, and the result was a delightfully rich and smooth product that elevated all our baked goods.
Ingredients
2 cups whole milk: Provides the creamy base of the condensed milk. Whole milk gives the best texture, but you can use other types of milk for different results.
1 ½ cups granulated sugar: Adds sweetness and helps in the thickening process.
¼ cup unsalted butter: Adds richness and smoothness to the final product.
1 teaspoon vanilla extract (optional): Enhances the flavor with a hint of vanilla.
Detailed Instructions
Step 1: Combine Milk and Sugar
- Prepare Ingredients: Measure out 2 cups of whole milk and 1 ½ cups of granulated sugar. Make sure your butter is unsalted and softened for easy incorporation.
- Mix in Saucepan: In a medium-sized saucepan, combine the milk and sugar. Stir them together thoroughly to begin dissolving the sugar.
Step 2: Heat the Mixture
- Simmer the Mixture: Place the saucepan over medium heat. Stir continuously as the mixture heats up to ensure the sugar completely dissolves into the milk.
- Reduce to Low Heat: Once the mixture starts to steam and small bubbles appear around the edges (just before it reaches a boil), reduce the heat to low.
Step 3: Cook Slowly
- Simmer and Stir: Allow the mixture to simmer gently on low heat. Stir it frequently to prevent the milk from scorching or forming a skin.
- Add Butter: Add the ¼ cup of unsalted butter to the simmering mixture. Stir until the butter melts completely and is fully incorporated.
- Condense the Milk: Continue to simmer the mixture for about 1 to 1 ½ hours. During this time, the liquid will reduce by about half, thickening into a rich, creamy consistency. Stir occasionally, keeping an eye on the thickness.
Step 4: Check Consistency
- Test Thickness: After about an hour, check the consistency of the mixture. It should be thick enough to coat the back of a spoon. If it’s still too runny, continue to simmer until it reaches the desired thickness.
- Remove from Heat: Once thickened, remove the saucepan from heat and let it cool slightly.
Step 5: Add Vanilla (Optional)
- Flavor with Vanilla: If using, stir in 1 teaspoon of vanilla extract to the mixture. This step is optional but adds a delightful depth of flavor to the condensed milk.
Step 6: Cool and Store
- Cool Completely: Let the sweetened condensed milk cool to room temperature. As it cools, it will thicken further.
- Store in Jar: Transfer the cooled condensed milk into a clean, airtight jar or container. Store it in the refrigerator where it will keep for up to two weeks.
Variations and Substitutions
Different Types of Milk
Non-Dairy Options: Substitute whole milk with coconut milk, almond milk, or soy milk for a dairy-free version. Keep in mind that these will impart their own unique flavors to the condensed milk.
Low-Fat Milk: For a lower fat content, you can use 2% or skim milk, though the resulting texture may be slightly less creamy.
Sweeteners
Brown Sugar: Use brown sugar instead of granulated sugar for a richer, caramel-like flavor.
Honey or Maple Syrup: Substitute sugar with honey or maple syrup for a different type of sweetness and flavor.
Flavor Additions
Spices: Add a pinch of cinnamon or nutmeg for a spiced version, perfect for holiday recipes.
Extracts: Experiment with different extracts like almond or peppermint to create unique flavors.
Conclusion
Making homemade sweetened condensed milk is not only straightforward but also incredibly rewarding. The process transforms simple ingredients into a luscious, versatile product that can enhance a wide variety of dishes. Whether you’re using it to create creamy desserts, sweeten your coffee, or add richness to sauces, homemade sweetened condensed milk offers a superior taste and texture compared to store-bought versions.
The ability to customize the sweetness, flavor, and type of milk used means you can tailor the recipe to suit your dietary needs and preferences. Plus, the satisfaction of creating a pantry staple from scratch adds a touch of homemade magic to your kitchen.
Next time you find yourself needing sweetened condensed milk, try making it at home with this simple recipe. You’ll be amazed at how such basic ingredients can create something so delicious and versatile. Enjoy the process and the delectable results!