Would you like to save this?
Snow Cream Recipe: Easy Homemade Winter Dessert
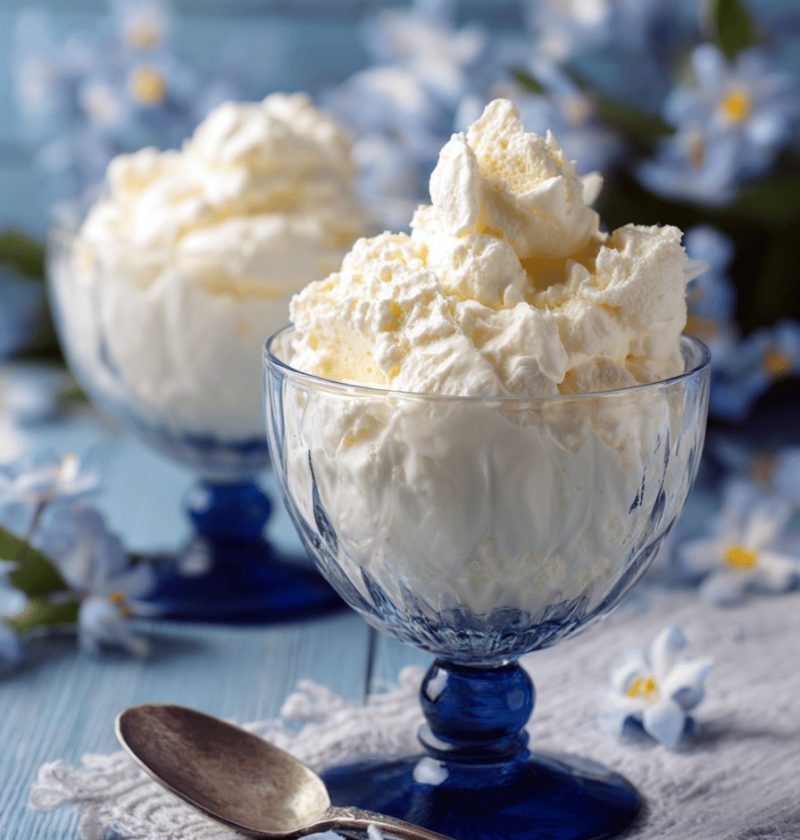
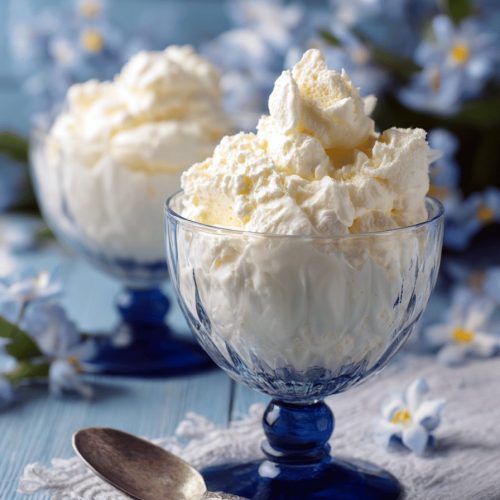
This Snow Cream Recipe whips up a festive, no-bake cold treat using fresh snow, creamy dairy, and a hint of vanilla for a whimsical winter dessert you can enjoy in under ten minutes.
Full Recipe Introduction
Snow Cream is the kind of dessert that makes you pause and smile—imagine gathering fresh, fluffy snow and turning it into spoonfuls of sweet, creamy joy. Back when I was a busy mom in Minnesota, I’d bundle up the kids right after a snowfall and scoop our snow into a big bowl. It felt a little like magic—no machinery, no oven; just nature’s freezer. What makes this Snow Cream Recipe so special is how simple and wholesome it can be. By swapping heavy cream for Greek yogurt sometimes, you shave off calories and sneak in protein. And honestly? It tastes just as dreamy, with that cool, melt-in-your-mouth texture that screams winter fun. Whether you serve it at a holiday gathering or enjoy a solo midnight snack, this homemade dessert captures the spirit of the season—and it’s easy enough for just about anyone to make.
Why You’ll Love This Snow Cream Recipe
- No oven needed—just fresh snow and a whisk for an instant cold treat
- Ready in under ten minutes, so you’re not standing by the stove
- Uses natural, seasonal ingredients—no artificial flavors
- Swap in almond or oat milk for a dairy-free twist
- Perfect family activity: kids love helping gather snow
- Low in fat if you use Greek yogurt (about 150 calories/serving)
- Festive for winter parties or cozy nights by the fire
- Budget-friendly—snow is free, and pantry staples you likely have
- Great way to impress guests with something homemade and fun
Ingredients
- 4 cups fresh, clean snow (avoid yellowed or packed snow)
- 1/2 cup whole milk (or coconut milk for a tropical spin)
- 1/2 cup heavy cream (or full-fat Greek yogurt for tang)
- 1/3 cup granulated sugar (or maple syrup for a natural sweetener)
- 1 teaspoon pure vanilla extract (brands like Nielsen-Massey shine)
- Pinch of sea salt (enhances the vanilla notes)
- Optional mix-ins: mini chocolate chips, crushed peppermint, or fresh berries
Tip: Let snow sit in a cold bowl for a minute to avoid melting too fast, and always use metal or glass—that icy chill helps.

Directions
-
Combine Dairy and Sugar
In a large mixing bowl, whisk the milk, cream (or yogurt), sugar, vanilla extract, and salt until smooth. You’ll see the sugar dissolve—this takes about 30 seconds. -
Add the Snow
Gently fold in the snow with a spatula, stirring just until blended. Work quickly so it stays fluffy, but don’t overmix or it will melt. -
Check the Consistency
Stop when the mixture resembles soft-serve Ice Cream. If it’s too runny, add another half cup of snow; if it’s too stiff, drizzle a teaspoon of milk. -
Scoop and Serve
Using an ice-cream scoop, portion the snow cream into individual bowls or festive cups. Top with sprinkles, chocolate chips, or a dusting of cocoa powder. -
Enjoy Immediately
This dessert is best eaten right away—watch it melt into a silky ribbon of creamy snow. If you wait, it turns slushy but still tastes delicious.
Servings & Timing
- Yield: 4 generous servings
- Prep Time: 10 minutes (plus 2 minutes to gather snow)
- Chill/Rest Time: none—serve right away for peak fluffiness
- Total Time: about 12 minutes from snow to spoon
Variations
- Peppermint Twist: Stir in 1/4 teaspoon peppermint extract and top with crushed candy canes.
- Cocoa Snow Cream: Whisk in 2 tablespoons unsweetened cocoa powder with the sugar.
- Fruit Swirl: Fold in a few tablespoons of mashed berries or thawed fruit puree.
- Coffee Kick: Mix 1 tablespoon instant espresso powder into the dairy before adding snow.
- Vegan Version: Use coconut cream, almond milk, and coconut sugar instead of dairy.
- Nutty Crunch: Top each bowl with chopped toasted almonds or pistachios.
Storage & Reheating
- Store in the freezer in an airtight container for up to 2 weeks.
- To serve frozen snow cream, let it sit at room temperature for 5–10 minutes—no microwave needed.
- You can make the dairy base ahead: mix and chill in the fridge up to 2 days, then add fresh snow when ready.
Notes
- I learned the hard way that snowfall right before dusk is ideal—fresh snow holds air better for fluff.
- If your snow has large crystals, break them up with a spoon before combining, or run them briefly under cold water and re-freeze.
- For an even silkier mouthfeel, chill the dairy-sugar mix in the fridge for 15 minutes first.
- Avoid using canned whipped topping as a base—it can be too sweet and masks the snow’s delicate texture.
FAQs
Q: Can I use store-bought shaved ice instead of real snow?
A: Yes, shaved ice works in a pinch, though it lacks snow’s light, airy bite.
Q: Is Snow Cream safe to eat?
A: As long as you gather fresh, clean snow away from roads and roofs, it’s perfectly safe.
Q: What if it melts too fast?
A: Chill your serving bowls in the freezer briefly before scooping—this keeps it cold longer.
Q: Can I add food coloring?
A: Absolutely! A drop of natural beet or Spinach juice adds festive color.
Q: How sweet should it be?
A: Taste the dairy mix before adding snow; adjust sugar to your preference, keeping in mind snow will dilute sweetness.
Q: Can I make this dairy-free?
A: Definitely—coconut cream or a creamy oat milk blend works beautifully.
Q: How do I keep it from getting icy?
A: Serve right away and avoid stirring once in the bowl; stirring introduces melt.
Q: Any kid-friendly tips?
A: Let little ones decorate their own bowls with fun toppings—marshmallows, colored sugar, or gummy bears.
Conclusion
This Snow Cream Recipe turns simple snowfall into a homemade dessert that’s as delightful to make as it is to eat. Its playful texture, easy prep, and seasonal charm make it a winter winner every time—give it a whirl and share your snowy creations below. And if you’re dreaming of more frosty treats, check out my Peppermint Bark Fudge or Hot Cocoa Bomb tutorials next!
Snow Cream Recipe: Easy Homemade Winter Dessert
Ingredients
- 4 cups fresh, clean snow avoid yellowed or packed snow
- 1/2 cup whole milk
- 1/2 cup heavy cream
- 1/3 cup granulated sugar or maple syrup for a natural sweetener
- 1 teaspoon pure vanilla extract
- Pinch sea salt enhances the vanilla notes
- Optional mix-ins: mini chocolate chips, crushed peppermint, or fresh berries
Instructions
- In a large mixing bowl, whisk the milk, cream (or yogurt), sugar, vanilla extract, and salt until smooth. You’ll see the sugar dissolve—this takes about 30 seconds.
- Gently fold in the snow with a spatula, stirring just until blended. Work quickly so it stays fluffy, but don’t overmix or it will melt.
- Stop when the mixture resembles soft-serve Ice Cream. If it’s too runny, add another half cup of snow; if it’s too stiff, drizzle a teaspoon of milk.
- Using an ice-cream scoop, portion the snow cream into individual bowls or festive cups. Top with sprinkles, chocolate chips, or a dusting of cocoa powder.
- This dessert is best eaten right away—watch it melt into a silky ribbon of creamy snow. If you wait, it turns slushy but still tastes delicious.