Would you like to save this?
Cheese Ball Recipe
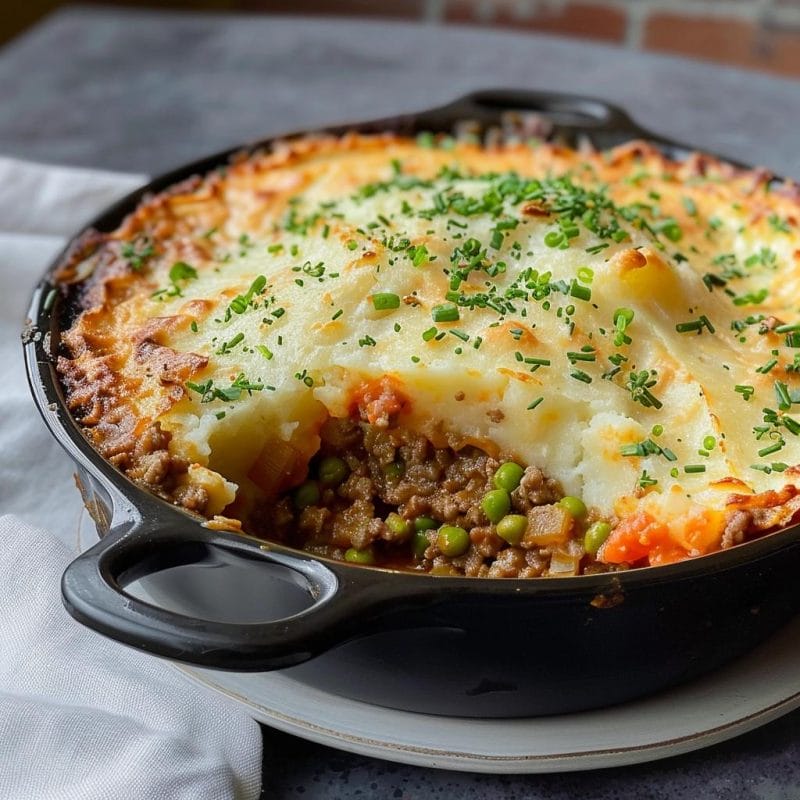
This no-bake Cheese Ball Recipe is a festive, crowd-pleasing snack that’s ready in under an hour.
Full Recipe Introduction
If you’ve ever wondered what makes a holiday gathering or game-day party truly unforgettable, let me introduce you to the humble yet mighty cheese ball. A cheese ball is essentially a blend of cream cheese, shredded cheese and seasonings, all rolled into a savory orb that guests can dig into with crackers or veggies. What makes this Cheese Ball Recipe special is its balance of tangy, creamy, and crunchy textures—and yes, it’s surprisingly light when you swap in Greek yogurt. I first tested this at my son’s 8th birthday tailgate, and ever since, it’s become my go-to appetizer for Thanksgiving, Fourth of July, or any weeknight when I crave something fun. You know what? It even travelled well on road trips—just wrap it in plastic and tuck it between cold packs.
Why You’ll Love This Recipe
• No oven needed—just a bowl and a spoon.
• Ready in under 60 minutes, including chill time.
• Perfect for holiday spreads, potlucks, or casual get-togethers.
• Easy to customize with herbs, nuts, or sweet toppings.
• Crowd-friendly—vegetarian, gluten-free friendly with GF crackers.
• Sneaky healthy twist using whole milk Greek yogurt.
• Can be made ahead and stored for up to a week.
• Kid-approved—you might catch them licking the bowl!
Ingredients
• 8 oz (227 g) cream cheese, softened (use full-fat for silky texture)
• 4 oz (113 g) sharp cheddar, finely shredded (or Colby for milder taste)
• 2 tbsp whole milk Greek yogurt (brands like Fage or Chobani)
• 1 tsp Worcestershire sauce
• ½ tsp garlic powder
• ½ tsp onion powder
• ¼ tsp freshly ground black pepper
• 1 tbsp fresh chives, minced (or green onion tops)
• ¼ cup chopped pecans or walnuts (plus extra for rolling)
• 2 tbsp dried cranberries or finely chopped sun-dried tomatoes (optional for sweetness/tang)
Substitutions & Tips:
– For a lighter spin, swap half the cream cheese with plain cottage cheese (blend for smoothness).
– Use blanched almonds instead of pecans if you prefer a milder crunch.
– Fresh garlic (½ clove, minced) can replace garlic powder—just adjust to taste.

Directions
1. In a medium bowl, beat the softened cream cheese until fluffy. A handheld mixer works wonders, but a sturdy spoon is fine—just scrape the sides well.
2. Stir in Greek yogurt, Worcestershire sauce, garlic powder, onion powder and black pepper until the mixture looks smooth and a bit glossy. You’ll notice the color lightening as the yogurt blends in—fun, right?
3. Fold in shredded cheddar, minced chives and your chosen mix-ins (pecans and cranberries) until evenly dispersed. The bits should peek through the creamy base.
4. Scoop the blend onto a piece of plastic wrap or parchment paper. Gather the edges and shape into a firm ball by gently pressing and smoothing. If it feels sticky, wet your hands lightly.
5. Place the ball seam-side down on a plate and chill in the fridge for at least 30 minutes—this firms up the shape nicely.
6. While it chills, spread extra chopped nuts (and extra cranberries, if you like color) on a small plate.
7. Unwrap the chilled cheese ball and roll it across the nut-berry mixture until it’s coated evenly. A gentle press helps the coating adhere.
8. Transfer to a serving platter. Arrange crackers, sliced baguette, celery and carrot sticks around it for a colorful display.
9. For best flavor, let the cheese ball sit at room temperature for 10–15 minutes before digging in—this softens the cheese and sets off the aromas.
Servings & Timing
Yield: One 8-inch cheese ball, serving about 12–16 guests
Prep Time: 15 minutes active + 30 minutes chilling
Total Time: Approximately 45 minutes from start to finish
Variations
• Smoky Bacon & Jalapeño: Fold in crumbled cooked bacon and finely chopped jalapeño for a spicy kick.
• Mediterranean Twist: Swap cheddar for crumbled feta, add chopped olives and sun-dried tomatoes.
• Sweet & Savory: Roll in a mix of chopped pistachios and dried apricots for a dessert-style appetizer.
• Italian Herb: Stir in 1 tsp Italian seasoning, garlic scapes and shredded Parmesan.
• Vegan Version: Use vegan cream cheese, dairy-free yogurt and dairy-free shredded cheese alternative.
Storage & Reheating
Store wrapped in plastic or in an airtight container in the fridge for up to one week—flavors deepen over time. You can freeze uncoated cheese balls for up to 3 months; thaw overnight in the fridge, then roll in nuts just before serving. No reheating needed—this is best enjoyed cold or lightly chilled. Make-ahead tip: Prep the base 2 days in advance, then roll and garnish the day you serve.
Notes
• I learned that softening cream cheese at room temperature for about 30 minutes is key—skip the microwave if you can, or you risk a slightly curdled look.
• If your shredded cheese clumps, toss it in a small bowl with a pinch of cornstarch before adding.
• Want extra tang? Stir in ½ tsp lemon zest. Just a whisper elevates the whole ball.
FAQs
Q: Can I use reduced-fat cream cheese?
A: Yes, but the texture will be slightly less creamy—you might want to add an extra tablespoon of Greek yogurt.
Q: How do I prevent the cheese ball from sticking to my hands?
A: Wet or oil your hands lightly before shaping—or use parchment plus plastic wrap for a hands-off approach.
Q: What’s the best way to serve it at a party?
A: Keep it on a chilled plate or insert ice under a decorative platter to maintain firmness in warm rooms.
Q: Can I make this nut-free for nut allergies?
A: Absolutely—swap the nuts for toasted sesame seeds or finely chopped pretzel crumbs.
Q: How do I know if it’s mixed enough?
A: You want no white streaks of yogurt—once the base is uniformly pale and smooth, you’re good.
Q: Is there a dairy-free option?
A: Yes—vegan cream cheese and plant-based yogurt work well; just pick a sturdy dairy-free cheese for shredding.
Q: Why is my cheese ball grainy?
A: Often from low-quality cheese or over-mixing—use a good brand and stir just until combined.
Conclusion
This Cheese Ball Recipe combines simple prep with big-flavor payoff—no baking, plenty of crowd appeal, and room for your own culinary spin. Give it a try at your next gathering, and don’t forget to let me know how you jazz it up in the comments below. For more fun appetizer ideas, explore my Party Appetizers Collection or check out my Spinach Artichoke Dip Recipe—happy munching!

Cheese Ball Recipe
Ingredients
- 8 oz cream cheese softened (use full-fat for silky texture)
- 4 oz sharp cheddar finely shredded (or Colby for milder taste)
- 2 tbsp whole milk Greek yogurt brands like Fage or Chobani
- 1 tsp Worcestershire sauce
- ½ tsp garlic powder
- ½ tsp onion powder
- ¼ tsp black pepper freshly ground
- 1 tbsp fresh chives minced (or green onion tops)
- ¼ cup pecans or walnuts chopped (plus extra for rolling)
- 2 tbsp dried cranberries or sun-dried tomatoes finely chopped (optional for sweetness/tang)
Instructions
- Beat the softened cream cheese until fluffy in a medium bowl.
- Stir in Greek yogurt, Worcestershire sauce, garlic powder, onion powder, and black pepper until smooth and glossy.
- Fold in shredded cheddar, minced chives, pecans, and cranberries until evenly dispersed.
- Scoop the blend onto plastic wrap, shape into a ball, roll in nuts, and chill in the fridge for at least 30 minutes.
- After chilling, roll the cheese ball in nut-berry mixture, transfer to a platter, and serve with crackers, veggies, and breadsticks.