Would you like to save this?
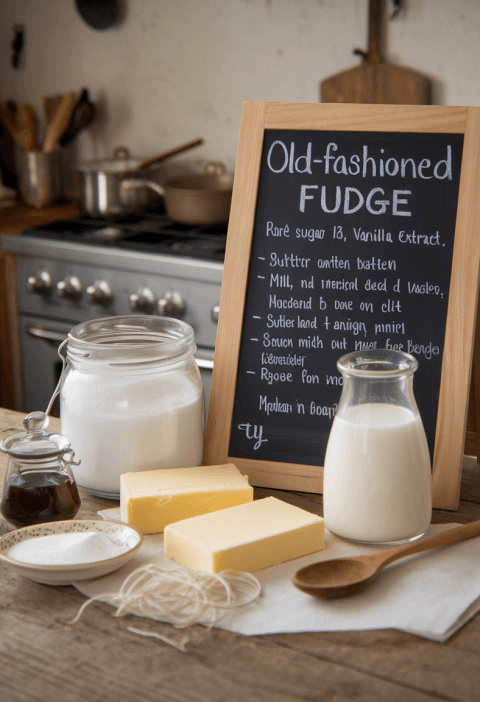
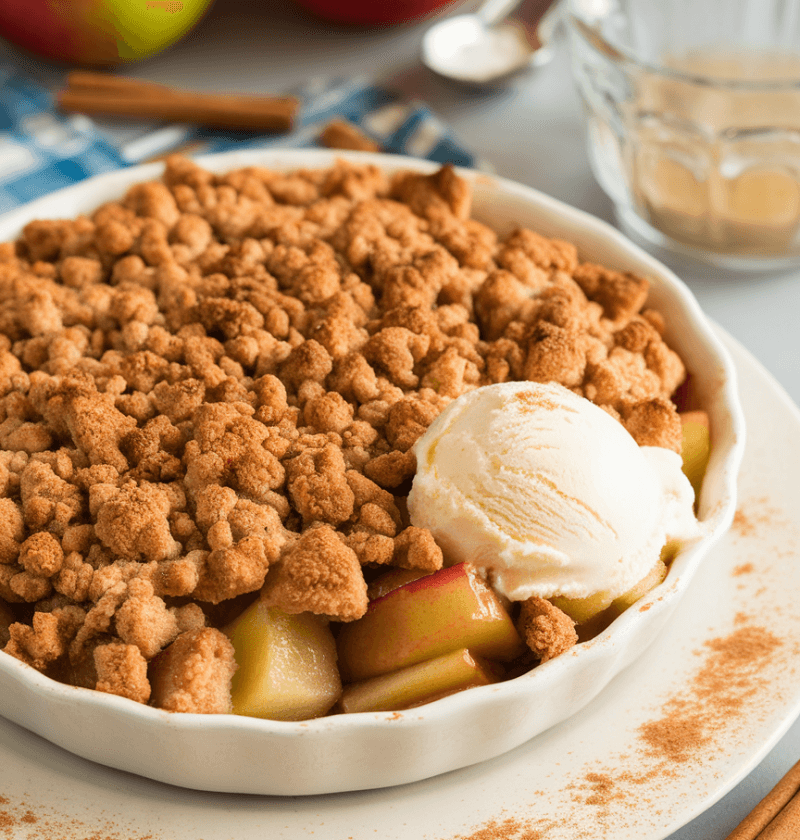
There’s something about an Old Fashioned Apple Crisp that feels like a warm hug on a crisp fall evening—tart apples coated in cinnamon and sugar, topped with a golden, crunchy oat crumble that practically melts in your mouth.
Why You’ll Love This Old Fashioned Apple Crisp
- A true comfort Food classic—no fancy gadgets required
- Pantry-friendly ingredients you likely have on hand
- Ready in under an hour from start to finish
- Perfect for potlucks, family dinners, or solo spoon-licking sessions
- Warming cinnamon-spiced aroma fills your kitchen (and your heart)
- Easily doubles for bigger crowds—just grab a second baking dish
- Naturally vegetarian and can be made gluten-free with a simple swap
- Ideal fall recipe that celebrates seasonal apples at their peak
Ingredients
For the apple filling
- 6 cups tart apples, peeled and sliced (about 6 medium Granny Smith or Cortland)
- 1 tablespoon fresh lemon juice (bottled works fine)
- ¼ cup granulated sugar
- 1 teaspoon ground cinnamon (organic or store-brand both work)
- Pinch of fine sea salt
For the oat crumble topping
- 1 cup old-fashioned oats (not quick-cooking)
- ½ cup light brown sugar, packed (or coconut sugar for a twist)
- ½ cup unsalted butter, melted and slightly cooled (or vegan spread)
- ½ cup all-purpose flour (sub almond or oat flour for gluten-free)
- 1 teaspoon ground cinnamon
- Pinch of salt

Directions for Old Fashioned Apple Crisp
- Preheat and prep
Preheat oven to 350°F (175°C). Lightly grease a 9×9-inch metal or glass baking dish—this helps the topping crisp up around the edges. - Toss the apples
In a large bowl, gently stir sliced apples with lemon juice, sugar, cinnamon, and a pinch of salt—this mix should smell sweet and spicy. Pro tip: use your hands to really coat each slice. - Make the crumble
In a separate bowl, whisk oats, brown sugar, flour, cinnamon, and salt. Pour in melted butter and stir until pebbly clusters form—think little golden nuggets that’ll bake to crunchy perfection. - Layer it up
Transfer the apple mixture into your prepared dish and spread evenly. Sprinkle the oat crumble over the apples, covering every nook so you get crisp in every bite. - Bake until bubbly
Slide the dish onto the center rack and bake for 40–45 minutes. You’re looking for bubbling fruit around the edges and a topping that’s deeply golden—if you peek too soon, resist the urge to stir! - Rest before serving
Let your Old Fashioned Apple Crisp rest about 10 minutes—this keeps the juices from running off and gives you perfect scoops. Grab a spoon, and if you’re feeling extra indulgent, add a scoop of vanilla ice cream right away.
Servings & Timing
- Yields: 8 servings
- Prep Time: 20 minutes (peeling apples is oddly therapeutic)
- Cook Time: 45 minutes (your kitchen will smell like fall)
- Total Time: Approximately 1 hour (plus a quick 10-minute rest)
Variations
- Stir ½ cup chopped pecans or walnuts into the crumble for nutty crunch.
- Toss in ½ cup dried cranberries with the apples for a tart-sweet pop.
- Swap pears or peaches for half the apples to mix up flavors.
- Go gluten-free: use oat flour and certified gluten-free oats.
- Add a pinch of nutmeg or ground ginger for extra warmth.
- Drizzle caramel sauce over each serving for a decadent finish.
Storage & Reheating
Store cooled crisp, covered with foil or plastic wrap, at room temperature for up to 1 day or refrigerate for up to 3 days. To reheat, pop slices into a 325°F oven for 10–12 minutes until warmed through and the topping regains its crunch. For longer keep, freeze in an airtight container (up to 1 month); thaw overnight in the fridge, then reheat as above.
FAQs
Q: Can I use pre-sliced apples from the store?
A: Absolutely—just pat slices dry so excess moisture doesn’t make the topping soggy.
Q: Which apple variety is best?
A: Granny Smith for tartness, Honeycrisp for sweetness, or a mix for balance.
Q: How do I prevent a soggy bottom?
A: Make sure your baking dish is well-greased and your apples aren’t swimming in liquid—toss them with sugar and cinnamon just before layering.
Q: Can I prep this in advance?
A: Yes—assemble the crisp, cover, and refrigerate up to 24 hours before baking; add a few extra minutes to cook time.
Q: Is this gluten-free?
A: Swap in almond or gluten-free flour and certified gluten-free oats to keep it safe and delicious.
Q: Why isn’t my topping crispy?
A: It may need more butter or less moisture—next time, let your melted butter cool slightly so it binds oats and flour into little clumps.
Q: Can I cut down on sugar?
A: You can reduce granulated and brown sugar by up to half, but expect a less sweet dessert.
Q: How do I store leftovers?
A: Room temp for 1 day, fridge up to 3 days, freeze up to a month—always reheat in the oven for crispiness.
Conclusion
This Old Fashioned Apple Crisp marries tender, cinnamon-kissed apples with a buttery oat topping that’s pure comfort food. Give it a try next time you crave a simple, crowd-pleasing dessert—and don’t forget to let me know how yours turned out! If you love this fall recipe, check out my pumpkin bread or apple pie for more cozy baking adventures.
Old Fashioned Apple Crisp
This Old Fashioned Apple Crisp combines tender, cinnamon-spiced apples with a buttery oat topping for a classic fall dessert that’s both comforting and easy to make!
- 6 cups tart apples, peeled and sliced (about 6 medium Granny Smith or Cortland)
- 1 tablespoon lemon juice (fresh or bottled)
- 1/4 cup granulated sugar
- 1 teaspoon ground cinnamon
- Salt (pinch)
- 1 cup old-fashioned oats (not quick-cooking)
- 1/2 cup light brown sugar (packed)
- 1/2 cup unsalted butter (melted)
- 1/2 cup all-purpose flour ((or gluten-free flour))
- 1 teaspoon ground cinnamon (for topping)
- Salt (pinch for topping)
- Preheat your oven to 350°F (175°C) and lightly grease a 9×9-inch baking dish.
- In a large bowl, toss apple slices with lemon juice, sugar, cinnamon, and a pinch of salt until well coated.
- Combine oats, brown sugar, flour, cinnamon, and salt, then stir in melted butter until clumps form.
- Layer the apple mixture in the prepared dish and sprinkle the oat crumble evenly on top.
- Bake for 40–45 minutes, or until the topping is golden and the filling bubbles at the edges.
- Let the crisp rest about 10 minutes before serving to set the juices; serve warm with ice cream if desired.
For a nutty twist, stir in ½ cup chopped pecans into the topping. Leftovers can be refrigerated up to 3 days or frozen for 1 month; reheat in a 325°F oven to restore crispness.