Would you like to save this?
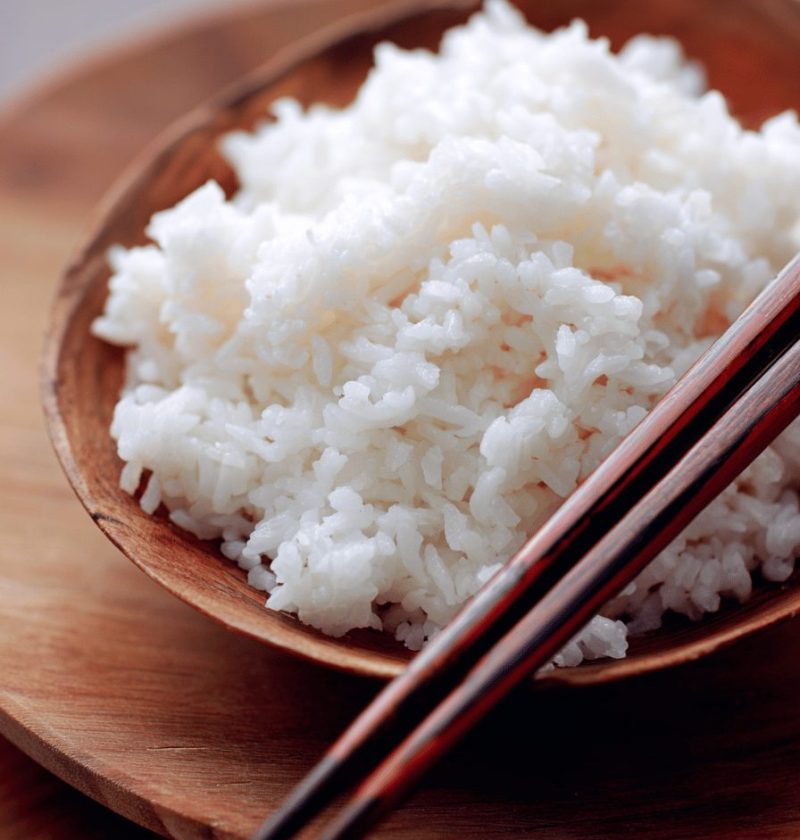
Sushi Rice Recipe
A simple, no-cook seasoning transforms ordinary rice into the sticky, glutinous foundation for all your favorite Japanese sushi rolls.
Every time I make Sushi Rice Recipe at home, it feels like a little celebration—fresh, vinegary rice that clings perfectly to nori and fillings, turning plain ingredients into something magical. As a 50-year-old food lover, I’ve spent decades fine-tuning this recipe, balancing acidity, sweetness, and texture so you can enjoy restaurant-quality rice in your own kitchen.
Why You’ll Love This Recipe (H2)
- Ready in under 45 minutes – perfect for busy weeknights or last-minute sushi parties
- No baking required – just a rice cooker (or pot) and a wooden paddle or spatula
- Uses pantry staples: Japanese rice, rice vinegar, a touch of sugar and salt
- Achieves that authentic, slightly glossy, spoon-test texture every time
- Gluten-free and Vegan-friendly – ideal for diverse diets
- Customizable seasoning ratio – adjust to your taste for milder or punchier vinegar notes
- Great base for sushi rolls, hand rolls, poke bowls, or onigiri
- Impresses guests with that sticky, glutinous bite that holds fillings in place
- Scalable from 2 cups of rice to a party-size batch without losing quality
- Pairs beautifully with miso soup, pickled ginger, and soy sauce
Ingredients (H2)
• 2 cups Japanese short-grain rice (Nishiki or Koshihikari)
• 2¼ cups water (filtered when possible)
• ¼ cup rice vinegar (Kikkoman seasoned or unseasoned)
• 2 tablespoons granulated sugar (or light brown sugar)
• 1 teaspoon fine sea salt (or kosher)
• Optional: 1 teaspoon kombu (dried kelp) for extra umami
(Substitutions:
– For seasoned rice vinegar, reduce sugar to 1 tablespoon and salt to ½ teaspoon.
– Swap granulated sugar for agave or honey for a floral sweetness—just melt it into the vinegar first.)

Directions (H2)
-
Rinse and drain the rice
Place rice in a fine-mesh sieve or bowl, then rinse under cold running water. Swirl the grains gently with your hand until water runs clear—this removes extra starch, preventing gummy clumps. Drain for 10 minutes. -
Soak the rice
Transfer rice to the rice cooker or pot, add 2¼ cups water, and let it soak for 20–30 minutes. This step helps the grains absorb water evenly and cook to that signature plump, sticky texture. -
Cook the rice
If using a rice cooker, close the lid and press “Cook.” For stovetop, bring to a gentle boil over medium heat, then cover and reduce heat to low for 15 minutes. Let it rest, lid on, for another 10 minutes off the heat. -
Prepare the seasoning
While rice cooks, combine rice vinegar, sugar, and salt in a small saucepan. Warm over low heat, stirring until sugar dissolves—no need to boil. Remove from heat and let it cool slightly. -
Season the rice
Transfer hot rice to a wooden or plastic bowl (a hangiri is traditional but not required). Drizzle the vinegar mixture evenly over the rice. Using a rice paddle or spatula, cut and fold the rice gently—avoid smashing. Aim to coat each grain. -
Cool and fan
Fan the rice (a simple piece of cardboard works) while you stir in wide, sweeping motions. This cools the rice quickly, giving it that slight sheen. Stop fanning once rice reaches just above room temperature—warm, not hot. -
Serve or store
Use immediately for sushi, rolls, or bowls. If making ahead, cover with plastic wrap to prevent drying. Perfect sushi rice stays moist for up to 2 hours at room temperature.
Servings & Timing (H2)
Yield: Serves 4–6 (makes about 4 cups seasoned sushi rice)
Prep Time: 10 minutes (plus 20–30 minutes soaking)
Cook Time: 25 minutes
Rest/Cooling Time: 10 minutes
Total Time: Approximately 1 hour
Variations (H2)
• Spicy Sushi Rice: Stir in 1 tablespoon sriracha to the vinegar mixture for a gentle heat.
• Sweet Plum Twist: Add 2 tablespoons umeboshi paste for a tangy, pink-hued rice.
• Citrus Zest Boost: Grate lemon or yuzu zest into the seasoning for a bright pop.
• Brown Rice Version: Use brown short-grain rice; increase soaking to 1 hour and cooking to 45 minutes.
• Herb-Infused: Steep 2 sprigs of shiso leaves in the vinegar mix, then strain.
• Gluten-Conscious: Swap sugar for maple syrup and ensure your rice vinegar has no additives.
Storage & Reheating (H2)
Fridge: Cover sushi rice tightly with plastic wrap and store in an airtight container for up to 2 days.
Freezer: Not recommended—freezing changes the rice’s texture, making it hard and grainy.
Reheating: Gently steam in a covered bowl in the microwave for 30–45 seconds, or sprinkle with a few drops of water and warm in a steamer basket.
Make-Ahead Tip: Keep seasoning separate until just before serving to maintain that glossy sheen.
Notes (H2)
• Rinsing rice until the water runs clear reduces excess starch—your rice will feel cleaner and less gummy.
• If your kitchen’s dry, toss a damp paper towel over the rice while it rests to lock in moisture.
• I love adding a strip of kombu to the pot for an umami boost; just remove before step 5.
• Fanning is more than flair—it sets the sushi rice’s glossy finish and helps cool it evenly.
• Taste as you go: some brands of rice vinegar are tangier, so feel free to tweak sugar and salt.
FAQs (H2)
Q: Can I use regular long-grain rice?
A: Short-grain Japanese rice is essential for that sticky, glutinous texture—long-grain won’t cling properly.
Q: Why is my sushi rice too wet?
A: You may have added too much water or not drained the rice well after rinsing. Measure carefully and drain thoroughly.
Q: How do I keep rice from drying out?
A: Cover it immediately with plastic wrap and store in a sealed container; avoid air exposure.
Q: Is it okay to use seasoned sushi vinegar?
A: Absolutely—just reduce added sugar to 1 tablespoon and salt to ½ teaspoon since the vinegar is already sweetened.
Q: Can I make rice ahead for baking sushi?
A: Yes, but only up to 2 hours before using. Beyond that, rice can become soggy or dry.
Q: What’s the ideal rice-to-water ratio?
A: Generally, 1:1.1 to 1:1.2 by volume for short-grain rice—2 cups rice to about 2¼ cups water.
Q: How do I prevent rice from sticking to my paddle or spatula?
A: Lightly wet the paddle or spatula before stirring. A silicone spatula also works wonders.
Q: Can I double the recipe?
A: Definitely. Keep the same rice-to-water and vinegar-to-rice ratios, and use a larger bowl for mixing.
Conclusion (H2)
This Sushi Rice Recipe brings classic Japanese flavor into your kitchen with simple ingredients and clear steps—no specialty gear needed. Whether you’re rolling maki, crafting nigiri, or building poke bowls, this sticky, vinegary rice will elevate every bite. Give it a try, leave a note below on how it turned out, and explore our other Japanese-inspired recipes for more tasty adventures!

Sushi Rice Recipe
Ingredients
- 2 cups Japanese short-grain rice (Nishiki or Koshihikari)
- 2¼ cups water (filtered when possible)
- ¼ cup rice vinegar (Kikkoman seasoned or unseasoned)
- 2 tablespoons granulated sugar (or light brown sugar)
- 1 teaspoon fine sea salt (or kosher)
- 1 teaspoon kombu (dried kelp) for extra umami
Instructions
- Place rice in a fine-mesh sieve or bowl, rinse under cold water until clear, drain for 10 minutes.
- Transfer rice to a pot, add water, soak for 20-30 minutes.
- Cook rice in a rice cooker or on stovetop until done.
- Combine rice vinegar, sugar, and salt in a saucepan, warm until sugar dissolves.
- Transfer hot rice to a bowl, drizzle with vinegar mixture, cut and fold gently.
- Fan the rice while stirring, cool to just above room temperature.
- Use immediately for sushi or store covered for up to 2 hours.