Would you like to save this?
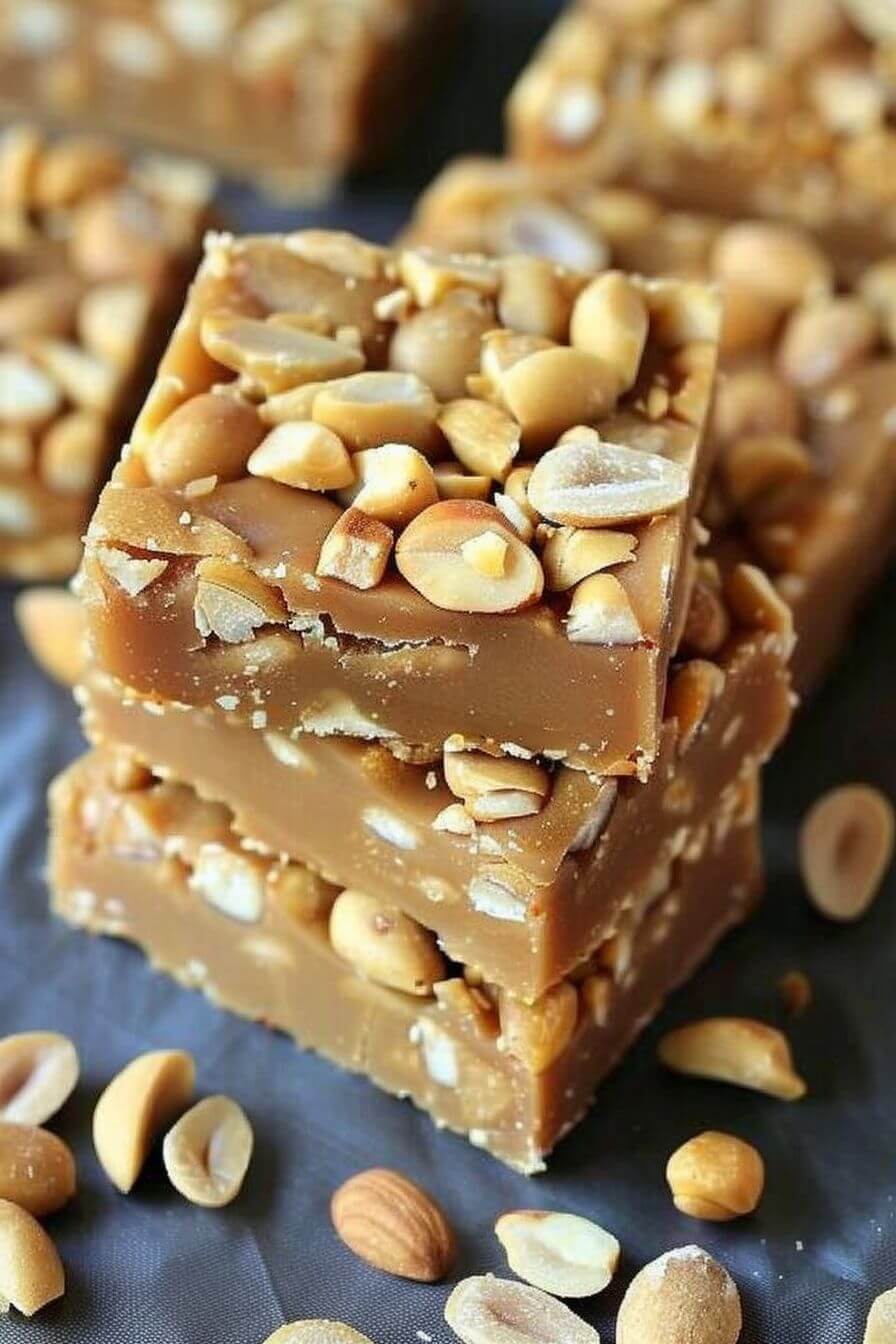
These delicious squares were first made by me during a family gathering. Everyone was in the kitchen, laughing and talking, and I wanted to make something that would leave a mark on everyone’s lips without much hassle. While searching for an appropriate recipe, I came across these No-Bake Payday Nut Squares, which sounded so simple that I had to try them myself. Since then, this recipe has been my go-to whenever I’m preparing dessert.
Ingredients
Before we dive into the instructions, let’s take a look at what you’ll need for these delicious treats:
3 cups salted peanuts (divided, no skins)
2.5 tablespoons butter
2 cups peanut butter chips
14 ounces sweetened condensed milk
2 cups miniature marshmallows
Kosher salt or sea salt (optional)
Instructions
Now, let’s start preparing these yummy treats known as No-Bake Payday Nut Squares. Follow these simple steps to serve your guests a tasty delight.
Step 1: Prepare the Pan
Grease the Pan:
Start by preparing the pan. You will need an 11″ x 7″ pan, which should be greased to prevent sticking.
Step 2: Layer the Peanuts
Spread Peanuts:
Spread 1½ cups of salted peanuts evenly on the bottom of the pan. This will act as the crunchy base for your nut squares.
Step 3: Melt Butter and Peanut Butter Chips
Melt the Mixture:
Combine the butter and peanut butter chips in a large saucepan. Melt them over low heat, stirring constantly until a smooth mixture is achieved. This should take about 10 minutes. Be careful not to burn the peanut butter chips.
Step 4: Add Sweetened Condensed Milk and Marshmallows
Mix Together:
Once the butter and peanut butter chips are melted and smooth, remove the saucepan from the heat. Stir in the sweetened condensed milk and miniature marshmallows. Continue stirring until everything is well combined, and the marshmallows are fully dissolved by the heat of the mixture.
Step 5: Pour Peanut Butter Mixture
Pour the Mixture:
Pour the melted peanut butter mixture over the layer of peanuts in the pan. Use a spatula to spread the mixture evenly, ensuring the entire area is covered.
Step 6: Add Remaining Peanuts
Top with Peanuts:
Sprinkle the remaining 1½ cups of salted peanuts over the peanut butter mixture. For a slightly salty bar, top with a pinch of kosher salt or sea salt.
Step 7: Chill the Bars
Chill and Set:
Cover the pan and refrigerate it for at least 2 hours to allow the nut squares to chill and set. Once set, remove from the refrigerator and cut into squares.
Step 8: Serve and Enjoy
Serve:
For a firmer texture, serve the bars chilled. If you prefer softer bites, allow them to reach room temperature before serving. Either way, these bars are delicious!
Variations and Substitutions
One of the best things about this recipe is its versatility. Here are a few changes and substitutions to cater to different tastes or preferences:
Chocolate Lover:
Replace half of the peanut butter chips with chocolate chips for a more cocoa-filled flavor.
Alternative Nuts:
If you’re not a fan of peanuts or have allergies, substitute peanuts with other nuts like almonds, pecans, or cashews. Just make sure they’re unsalted and peeled.
Gluten-Free Option:
This dish is naturally gluten-free, as long as you check that all your ingredients are labeled gluten-free.
Vegan Option:
To make these vegan bars, use vegan marshmallows, vegan sweetened condensed milk, and dairy-free peanut butter chips along with dairy-free margarine.
These bars are simple to prepare, requiring few ingredients and minimal effort. They offer full sweetness and are perfect for special occasions or whenever you crave a sugary treat.

