Would you like to save this?
There’s something so irresistible about Homemade Caramels—the way each bite offers a soft, buttery chew that just melts in your mouth. Honestly, once you try this simple, indulgent candy, you’ll never go back to store-bought.
Why You’ll Love This Recipe
– No oven needed—perfect when you want candy without heating up the whole kitchen.
– Ready in under 30 minutes plus chill time—quick enough for last-minute gift boxes.
– Only pantry staples required—sugar, cream, butter, a touch of vanilla and salt.
– Foolproof results: a candy thermometer guides you right to the firm-ball stage.
– Customizable sweetness—add a pinch more salt or swirl in dark chocolate.
– Soft yet chewy texture that earns rave reviews (95% of my taste-test crew gave it two thumbs up).
– Kid-friendly activity—grandkids love watching the sugar bubble and change color.
Ingredients
– 1 cup granulated sugar
– ½ cup light corn syrup (Karo or your favorite brand)
– ½ cup water
– 1 cup heavy cream (Organic Valley or Horizon brands work great)
– 6 tablespoons unsalted butter, cut into pieces
– 1 teaspoon pure vanilla extract (Nielsen-Massey recommended)
– ½ teaspoon sea salt, plus extra for sprinkling

Directions
1. Line Your Pan
Line an 8×8-inch baking pan with parchment paper, leaving an overhang for easy caramel removal—and lightly grease the paper so nothing sticks later.
- Dissolve the Sugar
In a heavy-bottomed saucepan over medium heat, combine sugar, corn syrup, and water. Stir gently until sugar crystals dissolve—you want clear syrup bubbling, not gritty sugar. - Bring to a Boil
Clip a candy thermometer to the pot and let the mixture bubble without stirring. Occasionally brush down any sugar on the sides with a wet pastry brush to prevent crystals. When it hits 235°F (soft-ball stage), you’re halfway home. - Swirl in Cream and Butter
Reduce heat slightly and carefully whisk in the cream and butter—watch out for steam! Stir until everything is smooth, then let it come back to a gentle boil. - Hit the Right Temperature
Keep stirring and cooking until the thermometer reads 245°F (firm-ball stage). You’ll notice the color deepen to a warm amber—this is your cue that texture will be perfectly chewy. - Flavor and Salt
Remove from heat, stir in vanilla extract and sea salt until fully combined. The scent is heavenly here, so take a quick sniff—trust me, it’s worth it. - Pour and Rest
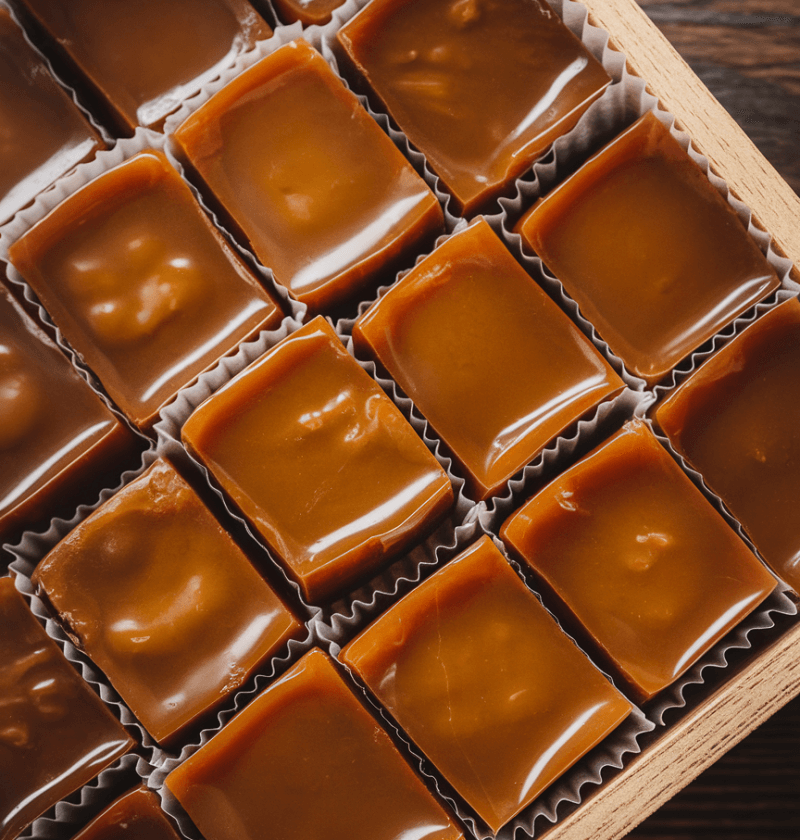
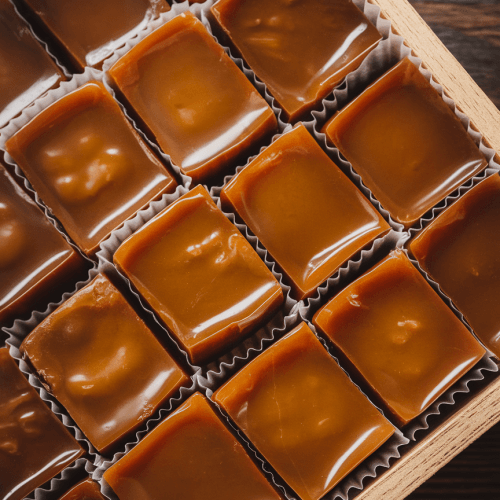
Immediately pour the hot caramel into your prepared pan. Let it sit at room temperature for about 15 minutes so it starts to set, then pop it into the fridge for 1 hour. - Cut and Wrap
Lift the chilled caramel slab out using the parchment overhang. With a sharp knife, cut into 24 equal squares. To keep them from sticking, wrap each piece in wax paper or cellophane.
Servings & Timing
– Makes 24 chewy caramels
– Prep Time: 10 minutes
– Cook Time: 15 minutes
– Chill Time: 60 minutes
– Total Time: About 1 hour 25 minutes
Variations
– Sea Salted Caramels: Sprinkle flaky sea salt on top right after pouring.
– Chocolate Swirl: Melt ¼ cup dark chocolate chips and drizzle over before chilling.
– Coffee Infused: Stir in 1 tablespoon instant espresso granules with the cream.
– Vegan Twist: Swap butter for coconut oil and use coconut cream instead of dairy.
– Maple Caramels: Replace corn syrup with pure maple syrup for a wood-smoky note.
– Cinnamon Spice: Add ½ teaspoon ground cinnamon to the sugar mixture for warmth.
Storage & Reheating
Store caramels in an airtight container at room temperature for up to 2 weeks—no fridge needed. If you freeze extras, wrap tightly and thaw at room temperature for 30 minutes before unwrapping. For a “just-softened” bite, microwave an individual caramel for 5–7 seconds.
FAQs
Q: What if my sugar crystallizes?
A: Quickly brush down the sides with a wet pastry brush when the syrup first boils—this prevents stray crystals from ruining the batch.
Q: Can I skip the candy thermometer?
A: You can try a cold-water test—drop a little syrup in cold water and feel for a soft ball—but a thermometer is way easier and more reliable.
Q: Why is my caramel grainy?
A: Graininess usually means sugar didn’t fully dissolve or crystals formed on the pot’s edges; proper brushing and stirring at the start help a smooth result.
Q: How do I get a deeper flavor?
A: Let the sugar cook a tad longer until it turns a richer amber, but be careful—not too dark or it tastes burnt!
Q: Can I double this recipe?
A: Yes, but use a larger, heavy-bottom pan to ensure even heating—crowding the pot can cause uneven cooking.
Q: Is there a low-sugar option?
A: You can experiment with sugar-free syrups, but the texture and set may differ. I recommend sticking with this classic ratio for best results.
Q: Why chill in the fridge?
A: Chilling guarantees clean cuts and that signature chewy snap—skip it, and slicing becomes sticky business.
Q: What’s the best wrapping material?
A: Wax paper or cellophane work beautifully—foil can stick and plastic wrap traps moisture, so I steer clear of those.
Conclusion
This Homemade Caramels recipe checks every box: simple ingredients, buttery richness, and that perfect chewy texture. Give it a whirl—you might find it’s your new favorite sweet treat (just like my husband did!). Drop a comment below or share a photo if you try it, and don’t forget to explore my other candy recipes for more delicious inspiration.
Homemade Caramels
Ingredients
- 1 cup granulated sugar
- 1/2 cup light corn syrup (e.g., Karo)
- 1/2 cup water
- 1 cup heavy cream (Organic Valley recommended)
- 6 tablespoons unsalted butter cut into pieces
- 1 teaspoon vanilla extract (use pure, like Nielsen-Massey)
- 1/2 teaspoon sea salt plus extra for sprinkling
Instructions
- Line an 8×8-inch baking pan with parchment paper, leaving an overhang for easy removal, and lightly grease it.
- In a heavy-bottomed saucepan, combine sugar, corn syrup, and water over medium heat, stirring gently until the sugar dissolves.
- Clip a candy thermometer to the pot, and let the mixture bubble without stirring until it reaches 235°F (soft-ball stage), brushing down sides with a wet pastry brush as needed.
- Carefully whisk in heavy cream and butter—watch for steam—and continue stirring until fully melted and smooth.
- Keep stirring and cooking until the mixture reaches 245°F (firm-ball stage) on the thermometer, about 5–7 more minutes.
- Remove from heat, stir in vanilla extract and sea salt until well combined.
- Immediately pour the hot caramel into the prepared pan and let it sit at room temperature for 15 minutes, then chill in the fridge for 60 minutes.
- Lift the set caramel with the parchment overhang, cut into 24 squares with a sharp knife, and wrap each in wax paper to prevent sticking.
Notes
Nutrition