Would you like to save this?
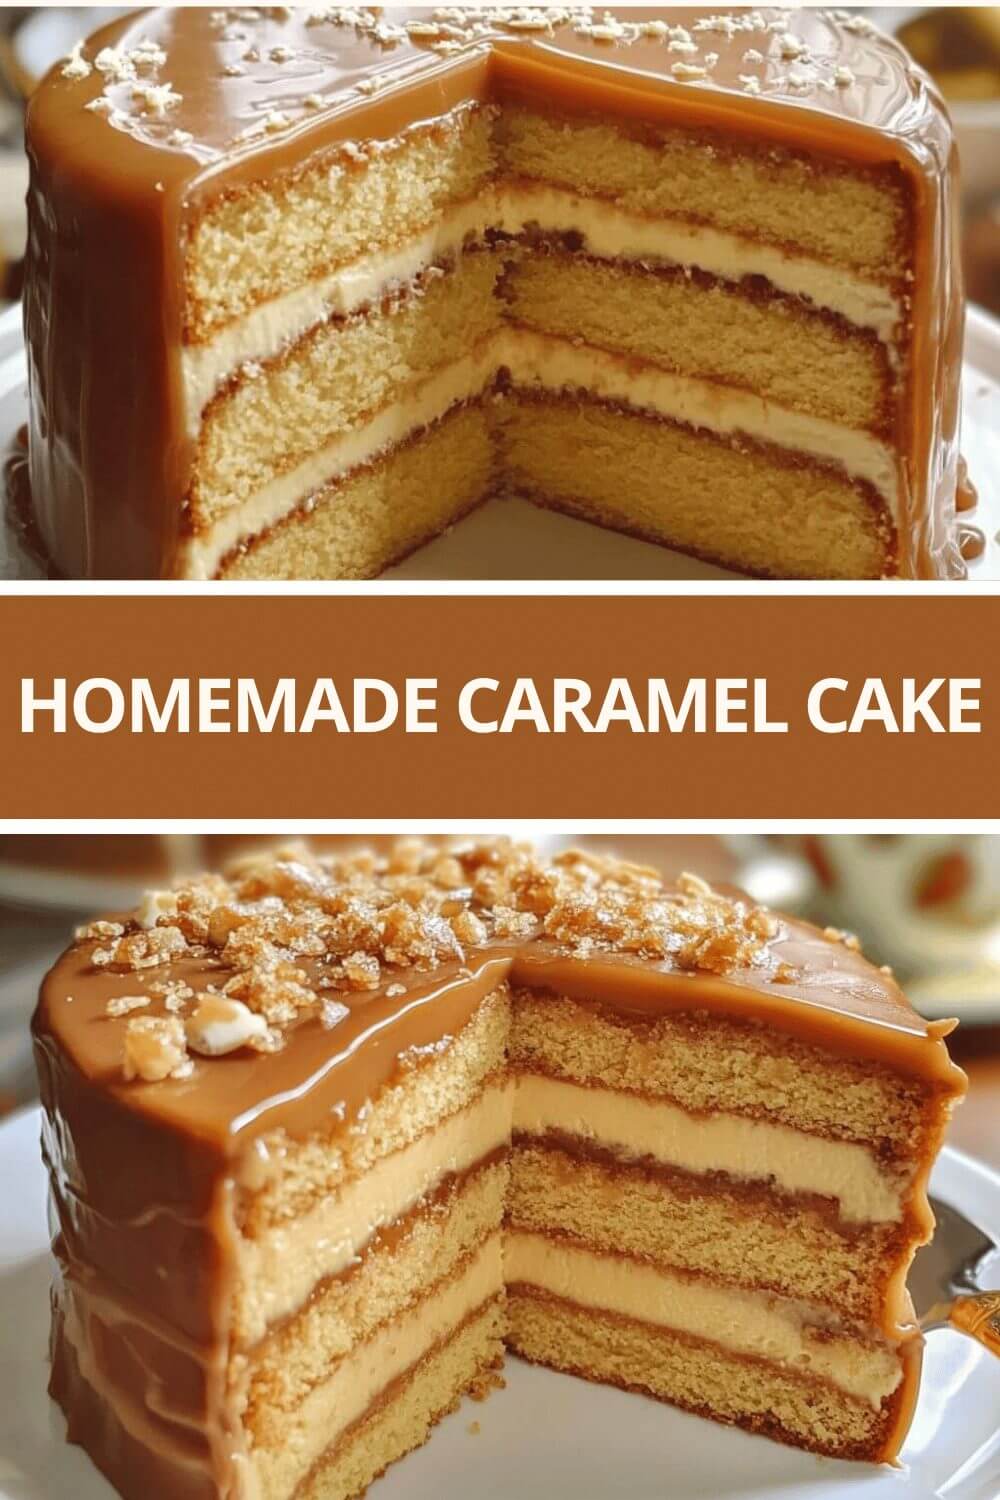
There’s something inherently comforting about a homemade cake, especially when it’s a classic like caramel cake. The warm, rich flavors of caramel evoke memories of cozy family gatherings, holiday celebrations, and cherished recipes passed down through generations. Homemade Caramel Cake, with its layers of moist, buttery cake and luscious caramel icing, is the epitome of indulgent baking. This recipe isn’t just about creating a dessert; it’s about crafting a centerpiece for your table and a delicious treat that speaks of love and effort.
I remember the first time I made this cake—it was for a special family dinner. My grandmother had always been known for her caramel cake, and when she passed on her recipe, I felt both honored and nervous. It was my chance to recreate one of my fondest memories: sitting around the table, savoring each bite of her perfectly caramelized cake. The process of making this cake, from the creaming of the butter and sugar to the careful crafting of the caramel icing, was a labor of love that brought the family together once more. And when the cake was finally ready, it was every bit as delightful as I remembered.
Ingredients
For the Cake:
2 sticks unsalted butter, room temperature
â…“ cup vegetable oil
2½ cups granulated sugar
3 cups sifted cake flour
6 large eggs, at room temperature
2 tablespoons baking powder
½ teaspoon salt
1 cup sour cream
2 tablespoons pure vanilla extract
For the Caramel Icing:
1½ sticks butter
2 (12-ounce) cans evaporated milk
2 cups granulated sugar
2 teaspoons pure vanilla extract
Instructions
1. Prepare the Cake
Preheat the Oven
: Begin by preheating your oven to 350 degrees Fahrenheit. This ensures that your oven is at the perfect temperature for baking the cake evenly.
Cream the Butter and Sugar: In a large mixing bowl, use an electric mixer to cream together 2 sticks of unsalted butter, â…“ cup vegetable oil, and 2½ cups granulated sugar. Beat on high speed until the mixture is light and fluffy. This process should take about 5-6 minutes. The goal is to incorporate air into the butter and sugar, which will make the cake tender and light.
Incorporate the Eggs: With the mixer on medium speed, add 6 large eggs one at a time. Make sure each egg is fully incorporated before adding the next. This step is crucial for achieving a smooth, cohesive batter.
Add Vanilla Extract: Once all the eggs are mixed in, add 2 tablespoons of pure vanilla extract. Continue to mix until the vanilla is fully blended into the batter.
Sift Dry Ingredients: In a medium-sized bowl, sift together 3 cups of cake flour, 2 tablespoons of baking powder, and ½ teaspoon of salt. Sifting these ingredients helps to aerate the flour and ensures that the baking powder and salt are evenly distributed.
Combine Wet and Dry Ingredients: With the mixer on low speed, gradually add the dry ingredients to the batter, alternating with 1 cup of sour cream. Start and end with the flour mixture. This method prevents the batter from becoming too dense and ensures an even texture. Be careful not to over-mix; just blend until the ingredients are combined.
Prepare the Cake Pans: Spray three 9-inch round cake pans with baking spray. Lightly flour the pans to prevent sticking. This step ensures that your cakes come out of the pans smoothly and retain their shape.
Pour and Bake: Divide the batter evenly among the prepared cake pans. Smooth the tops with a spatula to ensure even baking. Place the pans in the preheated oven and bake for 25-30 minutes. To check for doneness, use the fork test: insert a fork or toothpick into the center of the cakes. If it comes out clean or with just a few crumbs, the cakes are done.
Cool the Cakes: Remove the pans from the oven and let them cool on wire racks for about 10 minutes. This allows the cakes to set and makes them easier to remove from the pans. Once cool enough to handle, turn the cakes out onto the racks and let them cool completely before frosting.
2. Make the Caramel Icing
Start the Caramel
: In a large saucepan over medium heat, combine 1½ sticks of butter, 2 cans (12 ounces each) of evaporated milk, and 2 cups of granulated sugar. Stir frequently until the butter is melted and the sugar is dissolved.
Cook the Caramel: Reduce the heat to medium-low and continue to cook, stirring periodically, for about 1½ to 2 hours. This process requires patience. The caramel needs time to thicken and develop its rich flavor. Keep a close eye on it to prevent burning. The caramel should darken to a beautiful golden brown and coat the back of a spoon.
Finish the Icing: Once the caramel reaches the desired color and thickness, remove it from the heat. Stir in 2 teaspoons of pure vanilla extract. Let the caramel icing cool for about 15-20 minutes before using. This cooling period prevents the vanilla from cooking off and helps the icing thicken further, making it easier to spread.
3. Frost the Cake
Layer the Cake
: Place one cake layer on a serving plate or cake stand. Spread a generous layer of caramel icing over the top. Add the second layer of cake and repeat the process. If you’re making a three-layer cake, add the final layer and frost the top and sides of the cake.
Smooth the Icing: Use a spatula or a knife to smooth the caramel icing over the cake, creating an even layer. If the icing starts to harden while you’re working, gently reheat it until it reaches a spreadable consistency.
Decorate and Serve: Once the cake is frosted, you can add any additional decorations or garnishes if desired. The cake is now ready to be served and enjoyed.
Variations and Substitutions
Add Nuts
: For added texture and flavor, consider incorporating chopped nuts, such as pecans or walnuts, into the cake batter or sprinkling them on top of the icing.
Flavored Caramel: Experiment with different extracts or flavorings in the caramel icing, such as a hint of sea salt, to create a salted caramel version.
Gluten-Free Option: Substitute the cake flour with a gluten-free flour blend if you need a gluten-free option. Ensure that all other ingredients are gluten-free.
Fruit Addition: Add a layer of fresh or sautéed fruit, such as apples or pears, between the cake layers for a fruity twist on this classic dessert.
Summary
Homemade Caramel Cake is more than just a dessert; it’s a celebration of rich flavors and cherished traditions. The process of making this cake, from creaming the butter and sugar to crafting the perfect caramel icing, is an opportunity to create something truly special. The cake’s moist, buttery layers paired with the velvety caramel icing offer a satisfying combination that is sure to delight anyone who takes a bite.
This recipe is not only about the final product but also about the joy of baking and the pleasure of sharing a homemade treat with loved ones. Whether you’re celebrating a special occasion or simply enjoying a quiet moment at home, this caramel cake brings warmth and sweetness to every gathering. Enjoy the process, savor each bite, and relish the comfort of a classic dessert made from scratch.
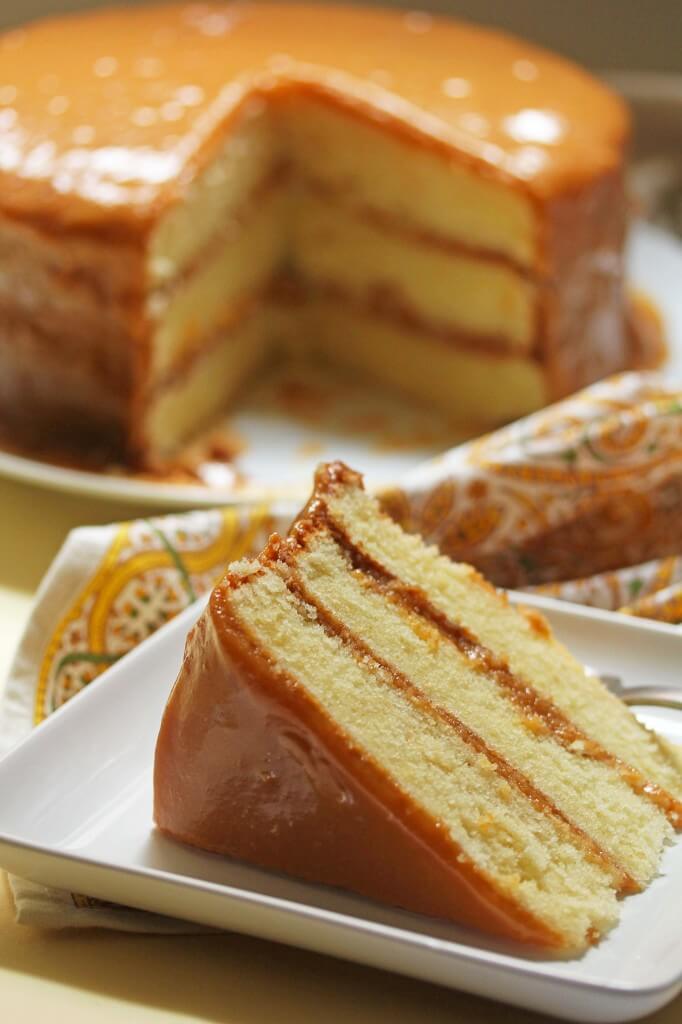
Homemade Caramel Cake
Ingredients
- 2 sticks unsalted butter room temperature
- 1/3 cup vegetable oil
- 2 1/2 cups granulated sugar
- 6 large eggs room temperature
- 2 tablespoons pure vanilla extract
- 3 cups cake flour sifted
- 2 tablespoons baking powder
- 1/2 teaspoon salt
- 1 cup sour cream
- 1 1/2 sticks butter
- 2 cans evaporated milk 12 oz each
- 2 cups granulated sugar
- 2 teaspoons pure vanilla extract
Instructions
- Preheat oven to 350°F (175°C).
- Cream butter, oil, and sugar until light and fluffy (5–6 minutes).
- Add eggs one at a time, mixing well after each. Stir in vanilla extract.
- Sift flour, baking powder, and salt in a bowl.
- Add dry ingredients and sour cream alternately to the batter, beginning and ending with flour. Mix until just combined.
- Grease and flour three 9-inch round pans. Divide batter evenly and smooth tops.
- Bake 25–30 minutes, or until a toothpick comes out clean. Cool in pans 10 minutes, then transfer to wire racks to cool completely.
- In a saucepan, combine butter, evaporated milk, and sugar over medium heat. Stir until melted and dissolved.
- Reduce heat to medium-low. Cook 1.5 to 2 hours, stirring often, until thick and golden brown.
- Remove from heat, stir in vanilla, and let cool 15–20 minutes.
- Layer cakes with caramel icing, then frost top and sides. Reheat icing if needed.

