Would you like to save this?
A burst of sweet, glassy crunch—this homemade Hard Candy recipe brings bright flavors and nostalgic joy straight to your kitchen, no fancy equipment needed and perfect for gifting or that sweet craving that just won’t quit.
Why You’ll Love This Recipe
- No oven needed—just a stovetop and a candy thermometer
- Ready in under 45 minutes from start to finish
- Totally customizable: pick any flavor extract or color combo
- Crunchy, long-lasting treats that stay fresh for weeks
- Great for DIY gift bags, party favors, or classroom treats
- Kid-friendly hands-off stage (grown-ups handle the hot sugar)
- Economical: basic pantry staples unlock candy magic
- Perfect weekend project to fill autumn afternoons or winter break
Ingredients
- 2 cups granulated sugar (cane sugar gives shine and clarity)
- ⅔ cup light corn syrup (or glucose syrup for a slightly softer snap)
- ½ cup filtered water (tap is fine, but filtered prevents cloudiness)
- ½ teaspoon flavor extract (lemon, peppermint, raspberry—your pick!)
- A few drops of food coloring (optional, for those rainbow vibes)
- ⅛ teaspoon citric acid (for a gentle tart kick, especially with citrus)
- Nonstick spray or a Pat of Butter (to grease your mat or parchment)

Directions
- Prepare Your Station
Line a baking sheet with a silicone mat or parchment paper and lightly spray or butter it. Doing this first means you won’t be scrambling once that sugar hits hard crack stage—timing is crucial! - Combine Base Ingredients
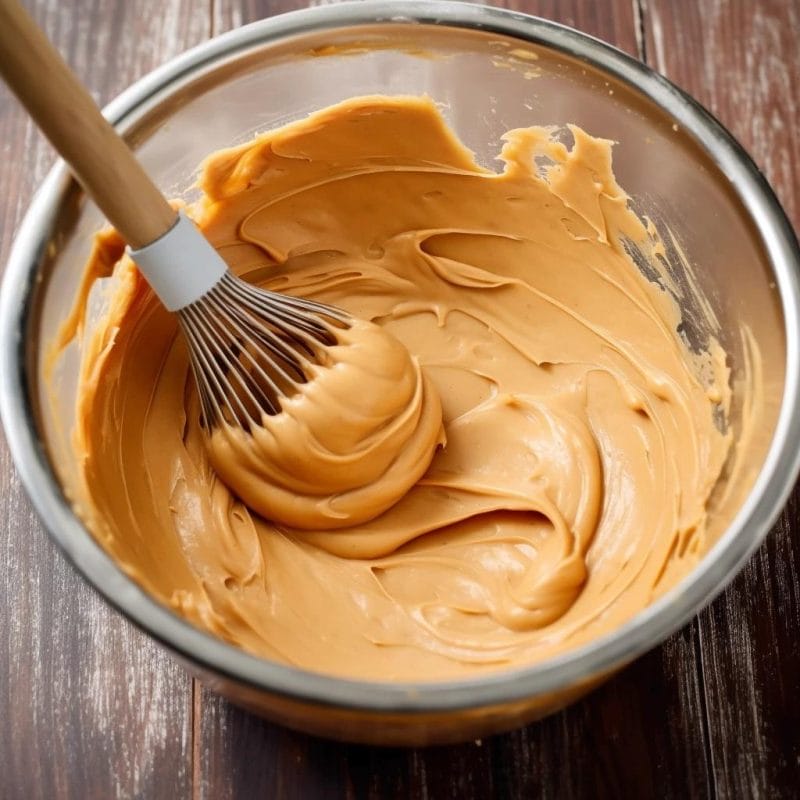
In a heavy-bottomed saucepan, stir together sugar, corn syrup, and water over medium heat until the sugar dissolves completely. Honest tip: don’t rush this—if a few crystals remain, they’ll dissolve in the boil. - Boil Without Stirring
Clip a candy thermometer to the side of your pan (sensor touching but not the bottom) and let the mixture bubble up to 300°F (the hard crack stage). It usually takes around 10–12 minutes—but watch closely: sugar can spike from soft ball to hard crack in 30 seconds. - Flavor and Color Magic
Once you hit 300°F, swiftly remove from heat and wait about 20 seconds (those bubbles calm down). Stir in your chosen extract, food coloring, and citric acid if you’re going for a tart note. Swirl gently—avoid vigorous stirring that invites sugar crystals. - Pour and Artfully Spread
Pour the molten candy onto your prepared sheet, tilting to spread into a thin layer. Use an offset spatula if you like perfectly even thickness; for a rustic look, swirl patterns and let it self-level. You know what? Irregular shapes often make the prettiest party favors. - Cool and Break
Let the candy rest at room temperature for about 15 minutes—full hardening happens fast, but patience ensures a crystal-clear snap. Once solid, run a sharp knife along cracks or simply lift and break into irregular shards. For neat circles, press a round cutter while it’s partly set.
Servings & Timing
Makes 40–50 pieces | Prep Time: 10 minutes | Cook Time: 15 minutes | Cooling Time: 15 minutes | Total Time: 40 minutes
Variations
- Peppermint Swirl: Crush candy canes and sprinkle over half-set candy for a festive crunch.
- Cinnamon Heat: Swap extract for cinnamon oil and add a dash of cayenne for spicy warmth.
- Tropical Twist: Use coconut cream instead of water for a softer texture and a faint coconut note.
- Sugar-Free Option: Replace sugar with erythritol blend and add stevia to taste—kenyan-style hard candy.
- Layered Rainbows: Pour in stages, alternating colors, to get prism-like stripes.
- Herb-Infused: Steep a sprig of rosemary or basil in the sugar syrup before boiling for subtle herbal depth.
Storage & Reheating
Keep your candies in an airtight container or zip-top bag at room temperature, away from humidity. They’ll stay glossy and crunchy for up to three weeks. If they absorb a bit of moisture and lose their snap, pop individual pieces in the microwave for 3–5 seconds to crisp them back up—just don’t wander off!
FAQs
Q: How do I know I’ve reached the hard crack stage?
A: When a few drops of syrup dropped into ice water form brittle threads that crack rather than bend, you’re at 300°F. A reliable candy thermometer helps you nail it every time.
Q: My candy turned cloudy—what happened?
A: Cloudiness often comes from stirring too much or using tap water with minerals. Next batch, stir only until sugar dissolves and consider filtered water.
Q: Can I use honey instead of corn syrup?
A: Honey crystallizes differently and may yield grainy candy, so it’s best for soft Caramels rather than classic hard crack sweets.
Q: Why did my candy stick to the parchment?
A: Either it wasn’t greased well or cooled too long before removal. Lightly greasing and peeling off while slightly warm helps release crisp pieces cleanly.
Q: Can toddlers help shape or decorate?
A: Once cooled, yes—but keep little hands away during the hot stages. Older kids love sprinkling colored sugar or edible glitter on half-set candy.
Q: Any tip for rainbow stripes?
A: Divide your syrup, color in separate bowls, then drizzle layers quickly—timing is key, so have everything prepped in advance.
Q: Is citric acid essential?
A: Not at all; it just adds a professional tart edge to fruit flavors. Leave it out for pure sweetness.
Q: What container works best for gifting?
A: Clear cellophane treat bags or small mason jars are charming, with a little ribbon and a personalized tag for a sweet-touch gift.
Conclusion
This Hard Candy recipe proves that homemade confectionery doesn’t have to be intimidating—just basic sugar, your favorite extracts, and a dash of patience. It’s the kind of crunchy treat that sparks joy, from party favors to quiet afternoons with a cup of tea. Give it a whirl, leave a comment below on your flavor hits, and don’t forget to check out our other sweets and desserts adventures!

Hard Candy
Ingredients
- 2 cups granulated sugar (preferably cane sugar)
- 2/3 cup light corn syrup or glucose syrup
- 1/2 cup water filtered
- 1/2 teaspoon flavor extract lemon, peppermint, etc.
- few drops food coloring (optional)
- 1/8 teaspoon citric acid (for tart lemon flavor)
- Nonstick spray or butter for greasing
Instructions
- Line a baking sheet with parchment paper or a silicone mat and lightly grease it, so your colorful candies pop off easily.
- In a heavy-bottomed saucepan over medium heat, stir together sugar, corn syrup, and water until the sugar dissolves completely.
- Clip a candy thermometer to the side of your pan and let the mixture bubble up to 300°F (hard crack stage).
- Remove from heat, wait 20 seconds for bubbling to subside, then stir in your extract, food coloring, and citric acid.
- Quickly pour the hot mixture onto your prepared sheet and use a spatula to swirl or spread it into thin layers before it cools.
- Let the candy sit at room temperature for about 15 minutes until fully hardened—resist the urge to peek!
- Use a knife or simply your hands to break the candy into bite-size, crunchy treats. Wrap individually if gifting.