Would you like to save this?

Baking a pie is more than just making a dessert; it’s about connecting with tradition, invoking memories, and creating something with love. Grandma’s No-Fail Pie Crust is a recipe that has been cherished and passed down through generations in my family. This crust is the foundation of countless family gatherings, holiday feasts, and cozy Sunday afternoons. Its simplicity and reliability make it a staple in our kitchen, and its versatility means it can be paired with any filling, sweet or savory.
My grandmother was a master of the kitchen, always ready with a pie for any occasion. I remember the comforting smell of her baking, the warmth of the kitchen, and the joy of sharing a slice with family and friends. Her pie crust was legendary—flaky, buttery, and just perfect. This recipe is not only a testament to her skills but also a way to keep her memory alive every time I bake.
Let’s delve into the detailed steps of creating Grandma’s No-Fail Pie Crust, ensuring each step is clear and easy to follow.
Ingredients
4 cups all-purpose flour
1 ¾ cups shortening
½ cup water
3 tablespoons white sugar
1 egg
2 teaspoons salt
Directions
Step 1: Prepare the Dry Ingredients
Combine Dry Ingredients: Begin by combining 4 cups of all-purpose flour, 2 teaspoons of salt, and 3 tablespoons of white sugar in a large mixing bowl. Use a whisk or a fork to blend these dry ingredients well, ensuring the salt and sugar are evenly distributed throughout the flour. This step is crucial as it sets the foundation for a well-balanced dough.
Step 2: Cut in the Shortening
Add the Shortening: Add 1 ¾ cups of shortening to the bowl. Using a pastry cutter or two knives, cut the shortening into the flour mixture until it achieves a coarse, crumbly texture. The mixture should resemble coarse meal with pea-sized pieces of shortening. This process ensures that the fat is evenly distributed, which helps create a flaky crust.
Step 3: Mix the Wet Ingredients
Prepare the Egg Mixture: In a smaller bowl, whisk one egg until it’s well beaten. Add ½ cup of water to the egg and mix until combined. The egg adds richness and helps bind the dough, while the water provides the necessary moisture.
Step 4: Combine Wet and Dry Ingredients
Form the Dough: Pour the egg and water mixture into the flour and shortening mixture. Stir gently with a fork or your hands until the dough comes together smoothly. Be careful not to overwork the dough; mix just until it holds together. Overmixing can lead to a tough crust.
Step 5: Divide and Chill the Dough
Divide the Dough: Divide the dough into four equal parts. This recipe is generously portioned to make four pie crusts, so there’s plenty to go around or freeze for later use. Each portion should be enough to line a standard pie dish.
Chill the Dough: Wrap each section of dough in plastic wrap or wax paper and refrigerate it until you’re ready to roll it out. Chilling the dough for at least an hour helps to relax the gluten and makes it easier to handle. It also ensures that the fat solidifies, which is key to achieving a flaky crust.
Step 6: Roll Out the Dough
Prepare the Surface: When you’re set to bake, lightly flour a clean, flat surface to prevent the dough from sticking. Also, flour your rolling pin.
Roll the Dough: Take one portion of dough from the refrigerator and roll it out to fit your pie pan. Start from the center and roll outwards in all directions to ensure an even thickness. The dough should be about 1/8 inch thick and large enough to cover the bottom and sides of your pie pan with a slight overhang.
Step 7: Assemble and Bake
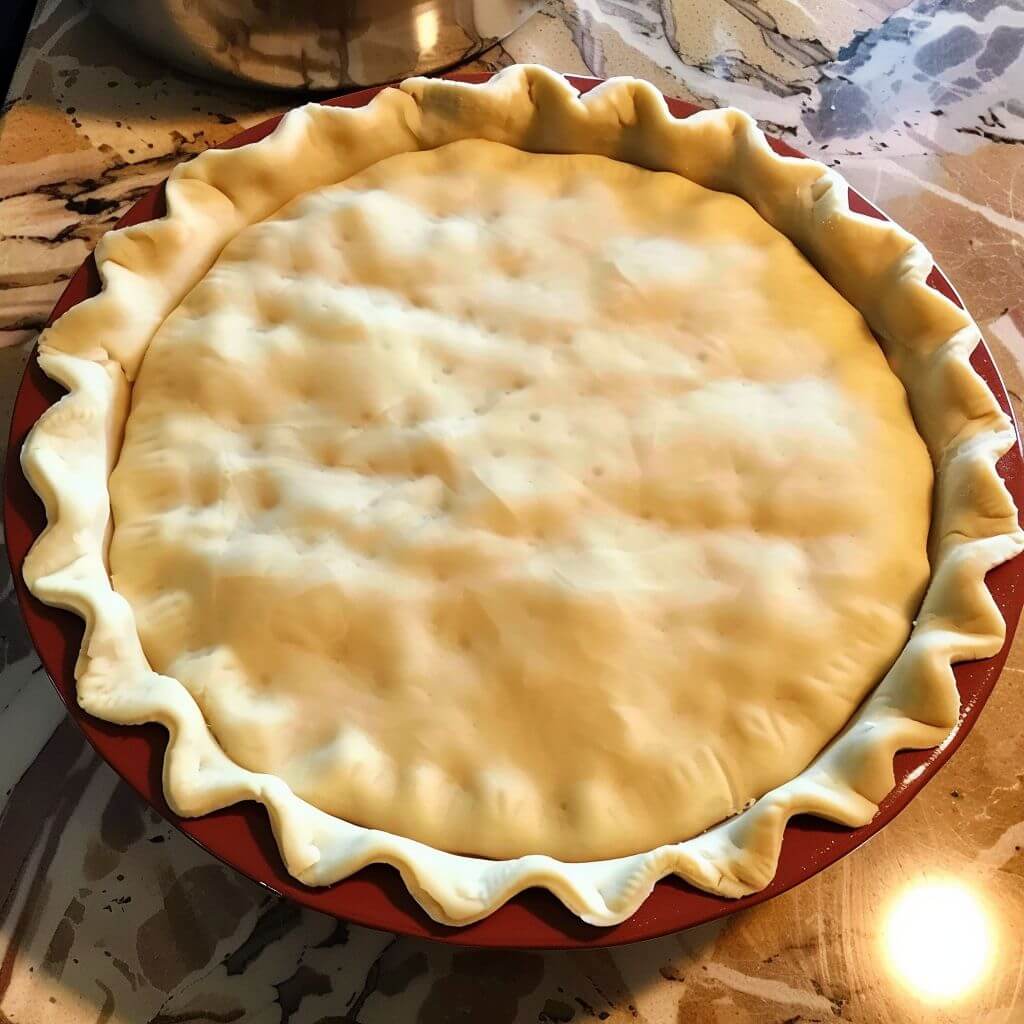
Fit the Dough: Carefully lift the rolled-out dough and fit it into your pie pan, pressing it gently into the bottom and up the sides. Trim any excess dough, leaving a slight overhang to create a decorative edge if desired.
Add Filling: Choose your favorite filling, whether it’s a sweet apple pie or a savory quiche, and pour it into the crust. Smooth the filling evenly.
Top Crust (Optional): If your recipe calls for a top crust, roll out another portion of dough and place it over the filling. Trim and crimp the edges to seal. Don’t forget to cut a few slits in the top crust to allow steam to escape.
Bake: Bake the pie according to your specific pie recipe’s directions. Generally, pies bake at 375°F (190°C) for about 50-60 minutes, but this can vary depending on the filling. The crust should be golden brown, and the filling should be bubbly.
Variations & Tips
Add Flavor: Enhance the flavor of the crust by adding a teaspoon of vanilla extract or almond extract to the egg mixture. For savory pies, you can mix in some herbs like thyme or rosemary.
Healthier Option: Substitute half of the all-purpose flour with whole wheat flour for a nuttier flavor and added nutrition. You can also use butter instead of shortening for a richer taste, though the texture will be slightly different.
Prevent Soggy Bottoms: For fruit pies, sprinkle a little flour or breadcrumbs on the bottom crust before adding the filling. This helps to absorb excess juices and keeps the crust crisp.
Freeze for Later: This dough freezes well. Wrap each portion tightly in plastic wrap and then in aluminum foil. It can be frozen for up to 3 months. Thaw in the refrigerator overnight before rolling out.
Blind Baking: For pies with a pre-baked crust, such as cream pies, line the crust with parchment paper and fill with pie weights or dried beans. Bake at 375°F (190°C) for 15-20 minutes, then remove the weights and bake for an additional 10 minutes or until golden brown.
Conclusion
Grandma’s No-Fail Pie Crust is more than just a recipe; it’s a piece of history and a token of love passed down through generations. The flaky, buttery texture combined with its ease of preparation makes it a reliable foundation for any pie. Whether you’re baking a classic apple pie, a rich chocolate tart, or a savory chicken pot pie, this crust will elevate your creation.
Embrace the joy of baking with Grandma’s No-Fail Pie Crust and let it remind you of the power of recipes passed down through generations. This isn’t just about making pies—it’s about creating memories, fostering traditions, and filling your home with the sweet and savory scents of love and nostalgia. Enjoy the process, share the results, and keep the tradition alive.