Would you like to save this?
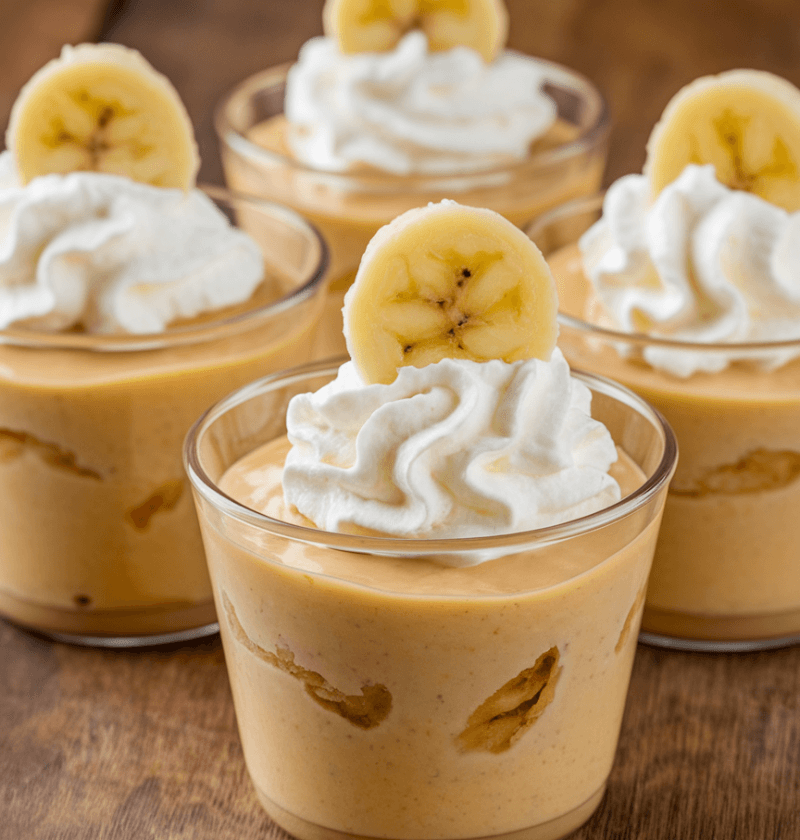
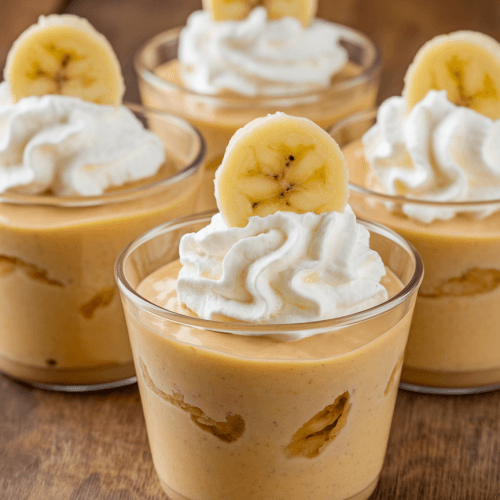
These Banana Pudding Cups are a charming, no-bake twist on a classic Southern dessert that comes together in under 30 minutes. With layers of creamy Jell-O vanilla pudding, ripe banana slices, and crisp Nilla Wafers, they’re the perfect mini dessert for potlucks, picnics, or simple family treats.
Why You’ll Love These Banana Pudding Cups
- No-oven, no-fuss sweet treat that anyone can make.
- Ready in under 30 minutes (plus a short chill).
- Ideal for potluck dessert, picnic dessert, or afternoon snacks.
- Customizable—mix in chocolate pudding, fresh berries, or a splash of rum.
- Individual servings mean zero slicing and zero mess.
- Kid-approved nostalgia in every spoonful.
- Classic Southern dessert vibes in petite dessert cups.
- Make-ahead convenience: prep today, enjoy tomorrow.
Honestly, you’ll be amazed at how quickly these pudding cups disappear once you set them out—kind of like magic.
Ingredients for Banana Pudding Cups
- 2 (3.4-ounce) boxes instant vanilla pudding mix (Jell-O brand recommended)
- 3 cups cold whole milk (or swap for almond milk for a lighter touch)
- 1 cup heavy whipping cream (for extra fluff) or 8 ounces Cool Whip, thawed
- 4 large ripe bananas, peeled and thinly sliced
- 1 sleeve Nilla Wafers (about 30 wafers)
- 2 tablespoons granulated sugar (optional—bonus sweetness!)
- Pinch of salt (balances the flavors)
- Optional toppings: graham cracker crumbs, mini chocolate chips, sliced strawberries

Before we jump into the steps, you know what? It helps to gather your tools first: an electric mixer for cloud-light pudding, a piping bag if you want neat layers, and clear plastic or glass cups so the colors really pop.
Directions
- Whisk the Pudding. In a medium bowl, whisk together both pudding mixes and the cold milk for 2 minutes until smooth and slightly thick—no lumps allowed. You’ll know it’s ready when it coats the whisk and just starts to cling.
- Whip the Cream. In another chilled bowl, whip heavy cream and sugar until soft peaks form; if you’re using Cool Whip, just fold it in gently. (Some say whipped topping is “too much,” but honestly, that extra fluff takes these pudding cups to cloud nine.)
- Fold Together. Gently fold the whipped cream (or Cool Whip blend) into your pudding base, stirring just enough to swirl everything together—like painting with vanilla clouds.
- Build the First Layer. Place 2–3 Nilla Wafers at the bottom of each cup. If you’re feeling fancy, tuck a banana slice under each wafer so every bite starts with fresh fruit.
- Layer It Up. Spoon or pipe a layer of pudding mixture over the wafers, then top with 2–3 banana slices. Repeat until the cup is about ¾ full—end with pudding for a polished look.
- Garnish. Sprinkle crushed wafers, graham crumbs, or mini chocolate chips on top, and perch a single wafer or banana fan at an angle for that Instagram-worthy finish.
- Chill. Cover the cups with plastic wrap or lids and refrigerate for at least 2 hours—overnight is even better since flavors deepen and texture firms up just right.
- Serve. Right before you present them, give each cup a tiny sprig of mint or a dusting of cinnamon if you like. Then watch how fast these individual servings vanish!
Servings & Timing
Makes 12 mini dessert cups (perfect for individual servings at any gathering).
- Prep Time: 20 minutes
- Chill Time: 2 hours (or overnight for best results)
- Total Time: About 2 hours 20 minutes
Variations
- Strawberry Banana Cups: Swap half the bananas for fresh strawberry slices.
- Chocolate Pudding Twist: Use chocolate instant pudding mix instead of vanilla.
- Dairy-Free Delight: Choose coconut milk pudding and dairy-free whipped topping.
- Cookies & Cream: Layer in crushed Oreos for a Cookies-and-cream vibe.
- Boozy Bananas: Stir in a tablespoon of rum or bourbon to the pudding base.
- Tropical Touch: Top with toasted coconut flakes and a maraschino cherry.
Storage & Reheating
Store these pudding cups in the refrigerator, covered, for up to 3 days—though I’ll admit my family usually devours them by day two. Freezing isn’t recommended as pudding can separate.
If you must transport them, tuck each cup into a cupcake liner or muffin tin to keep them upright. No reheating needed—just pull from the fridge and serve chilled.
FAQs
Q: Can I use homemade pudding?
A: Yes! Just make your stovetop vanilla pudding, cool it completely, then proceed with the recipe.
Q: What ripeness level for bananas?
A: Aim for bananas with a few brown specks—they’re sweeter and hold their shape better.
Q: How far ahead can I prep?
A: You can assemble and chill these up to 24 hours in advance—perfect for busy party planning.
Q: My pudding is too runny—help!
A: Whisk a bit longer or pop it in the freezer for 5 minutes, then whisk again until it thickens.
Q: Can I layer in mason jars?
A: Absolutely—mason jars, shot glasses, even ramekins work beautifully for dessert cups.
Q: Any tips for crisp wafers?
A: Keep your bottom wafer layer light and finish with a fresh crunch on top just before serving.
Q: Are these freezer-friendly?
A: I don’t recommend freezing—pudding texture suffers. Best enjoyed chilled.
Conclusion
These Banana Pudding Cups deliver all the charm of a Southern dessert in a perfectly portable, individual serving—no slicing required. They’re an easy recipe that fits picnic baskets, potluck tables, or sweet tooth cravings any day of the week. Give them a whirl this weekend, then leave a comment or tag me on Instagram to let me know how they turned out. And hey—if you loved this, pop over to my mini Peach Cobbler Cups or No-Bake Key Lime Pie Shooters for more bite-sized fun!
Banana Pudding Cups
Ingredients
- 2 3.4 oz packages instant vanilla pudding mix
- 3 cups whole milk cold
- 1 cup heavy whipping cream
- 8 oz whipped topping thawed
- 4 large ripe bananas sliced
- 1 sleeve Nilla Wafers about 30 wafers
- 2 tablespoons granulated sugar optional
- pinch salt
- Optional toppings graham cracker crumbs, mini chocolate chips, or strawberries
Instructions
- In a medium bowl, whisk together pudding mix and cold milk for about 2 minutes until the mixture is smooth and begins to thicken.
- In a separate bowl, whip heavy cream with an electric mixer until soft peaks form, then fold in the thawed whipped topping until light and fluffy.
- Gently fold the whipped cream mixture into the pudding base until well combined, keeping the mixture airy and smooth.
- Line the bottom of each cup with 2–3 Nilla Wafers, top with a layer of pudding mixture, then banana slices; repeat layers until the cups are filled.
- Sprinkle crushed wafers or graham crumbs on top and add a mini wafer or banana fan for a pretty finish.
- Cover the cups and refrigerate for at least 2 hours or overnight for the best flavor and texture.
Notes
Nutrition