Would you like to save this?
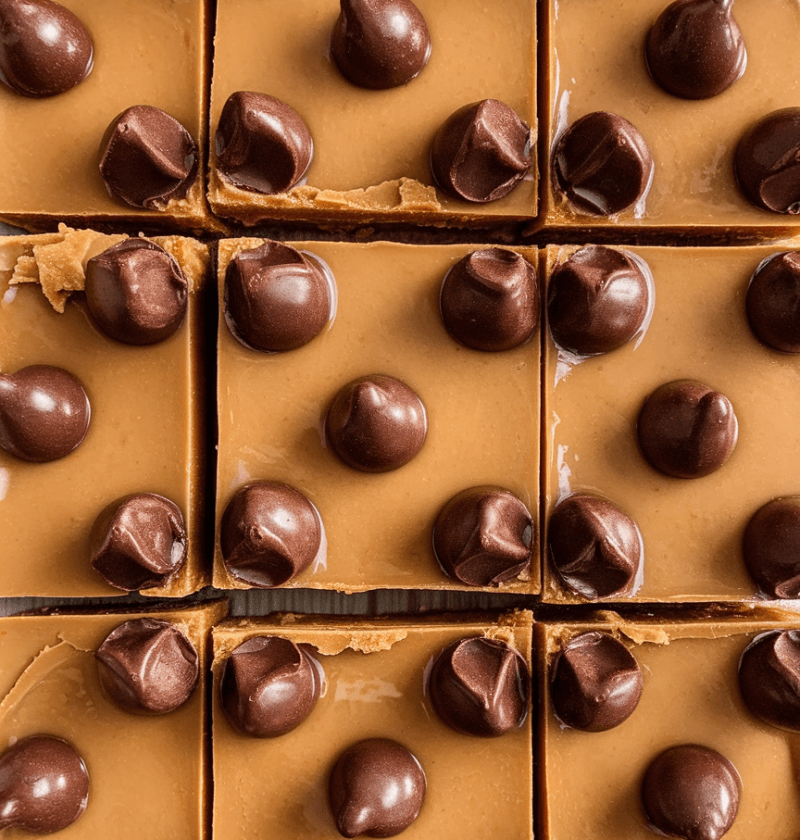
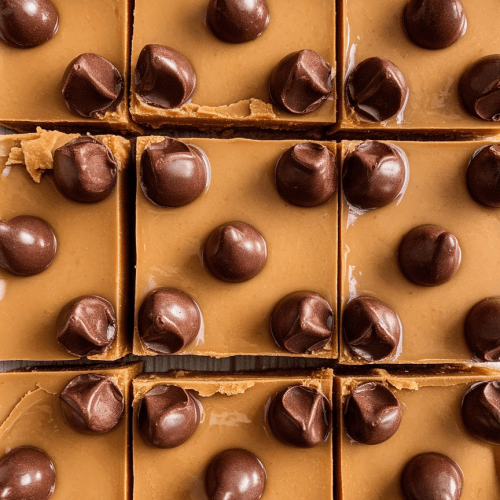
These Peanut Butter Blossom Bars bring together the nostalgia of classic cookie bars with a gooey chocolate kiss in every square—an easy baking treat that’s both delightful and fuss-free.
Why You’ll Love This Recipe
- No dough-dropping drama—just spread, bake, and top with a kiss
- Ready in under an hour (including a quick chill for perfect slices)
- Crowd-pleasing holiday treat or simple after-school snack
- Kid-friendly baking project—little hands can help press in the kisses
- One-pan magic: fewer dishes and zero rolled-dough cleanup
- Peanut Butter and chocolate chips meet in every bite for ultimate comfort
- Flexible swap-outs for gluten-free or allergy-friendly versions
Ingredients
- 1 cup creamy peanut butter (we love Smucker’s or Jif for smoothness)
- ½ cup unsalted butter, room temperature (or swap coconut oil)
- ½ cup granulated sugar
- ½ cup packed brown sugar (light or dark)
- 1 large egg, room temperature
- 1 teaspoon vanilla extract (pure if you can—flavor really pops!)
- 1¼ cups all-purpose flour (or 1:1 gluten-free flour blend)
- ½ teaspoon baking powder
- ¼ teaspoon salt
- 24 Hershey’s Kisses, unwrapped (classic milk chocolate; dark or caramel works too)
- ½ cup mini chocolate chips (optional extra pockets of chocolate)

Directions
- Preheat the Oven
Preheat to 350°F (175°C). Grease a 9×9-inch baking pan or line it with parchment paper—this little step means zero sticking later. - Cream Fats and Sugars
In a large bowl (or your stand mixer’s bowl), beat peanut butter, butter, and both sugars until light and fluffy—about 2 minutes. You’ll smell that nutty aroma and know you’re on the right track. - Add Egg and Vanilla
Crack in the egg and pour the vanilla extract; mix on low until everything’s smooth and glossy. Don’t overmix here—just until combined. - Mix Dry Ingredients
Whisk flour, baking powder, and salt in a small bowl, then fold into the wet mixture. Stir gently until no streaks of flour remain. Toss in mini chocolate chips if you’re feeling extra indulgent. - Spread Dough Evenly
Scoop the dough into your prepared pan. Use an offset spatula or the back of a spoon to smooth the top—think of it like spreading frosting on a cake. - Bake ‘til Edges Are Set
Slide the pan into the oven for 20–22 minutes. You want the edges firm but the center still a tad soft—it’ll finish setting on the counter. - Press in the Kisses
As soon as the bars come out, gently press a Hershey’s Kiss into each square (twist off the wrapper first!). The heat will slightly melt the chocolate for a gooey crown. - Cool and Chill
Transfer the pan to a cooling rack and let rest 15 minutes. For clean, neat slices, pop the bars into the fridge for another 30 minutes before cutting.
Servings & Timing
- Makes 16–20 bars
- Prep Time: 15 minutes prep (including lining your pan)
- Chill/Rest Time: 30 minutes (15 minutes cooling + optional fridge chill)
- Total Time: about 1 hour (give yourself a coffee break while they cool!)
Variations
- Swap in Reese’s Peanut Butter Cups (halved) for a double-peanut punch
- Try crunchy peanut butter to add a nutty bite
- Make them gluten-free with a cup-for-cup GF flour blend
- Sprinkle flaky sea salt on top before baking for sweet-salty bliss
- Drizzle melted white chocolate after chilling for a lovely contrast
- Use sunflower seed butter to create a peanut-free, allergy-friendly version
Storage & Reheating
Store bars in an airtight container at room temperature for up to 3 days. For longer life, freeze in a zip-top bag (up to 2 months) and thaw in the fridge overnight. Warm gently in the microwave (5–10 seconds) if you crave that just-out-of-the-oven softness.
FAQs
Q: Can I use natural peanut butter?
A: Yes—just mix well first, as the oil separates naturally. You may notice a slightly looser dough.
Q: Why are my bars crumbly?
A: If the dough seems dry, add a teaspoon of milk; overbaking can also cause crumbliness—watch the edges carefully.
Q: Can I prep these ahead?
A: Absolutely—mix the dough and refrigerate up to 24 hours, then spread and bake when ready.
Q: How do I prevent sticking?
A: A swift parchment paper hack or a light coat of non-stick spray will do the trick.
Q: Can I skip the chill step?
A: You can, but slicing straight from the pan gives more ragged edges—chill for clean cuts.
Q: Any gluten-free recommendation?
A: Bob’s Red Mill 1:1 Gluten-Free Baking Flour works beautifully here.
Q: Can I make mini bars?
A: Sure! Use a mini muffin tin, adjust bake time to 12–15 minutes, and press a tiny candy in each.
Conclusion
These Peanut Butter Blossom Bars blend rich peanut butter flavor with melty chocolate chips and that iconic Hershey’s Kiss for an irresistibly cozy dessert recipe. Whether you’re making a holiday treat or a casual after-school snack, they’re simple, shareable, and sure to earn rave reviews. Give them a try, let me know how you liked them, and don’t forget to explore my other easy baking ideas!
Peanut Butter Blossom Bars
Ingredients
- 1 cup creamy peanut butter like Smucker’s
- 1/2 cup unsalted butter room temperature
- 1/2 cup granulated sugar
- 1/2 cup brown sugar packed
- 1 large egg
- 1 teaspoon vanilla extract
- 1 1/4 cups all-purpose flour
- 1/2 teaspoon baking powder
- 1/4 teaspoon salt
- 24 Hershey’s Kisses unwrapped
- 1/2 cup mini chocolate chips optional
Instructions
- Heat your oven to 350°F (175°C) and prepare a 9×9-inch baking pan by greasing it well or lining it with parchment paper.
- In a large bowl, beat together the peanut butter, butter, granulated sugar, and brown sugar until light and fluffy, about 2 minutes.
- Add the egg and vanilla extract, mixing until the batter is smooth and glossy.
- Whisk together the flour, baking powder, and salt, then stir into the wet mixture just until combined; fold in mini chocolate chips if using.
- Transfer the dough to your prepared pan, smoothing the top with an offset spatula for even bars.
- Bake for 20–22 minutes, or until the edges are just set and the center still looks slightly soft—it will firm up as it cools.
- Right out of the oven, gently press a Hershey’s Kiss into the center of each bar square, twisting off the wrapper first.
- Set the pan on a wire rack and let cool for about 15 minutes before slicing; chill in the fridge for 30 minutes if you want cleaner edges.
Notes
Nutrition